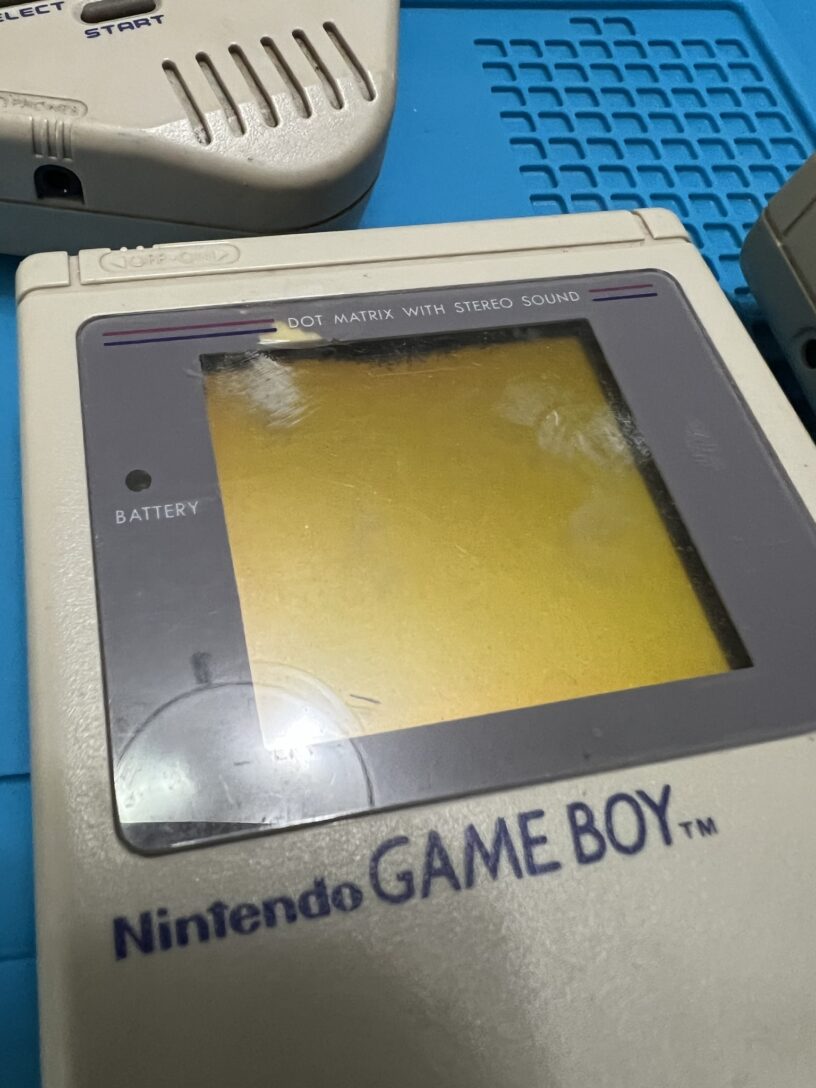
I managed to grab a job lot of 4 OG Game Boys from eBay, in various states of “broken.” You can see two of the plastic lenses have just peeled off with age:
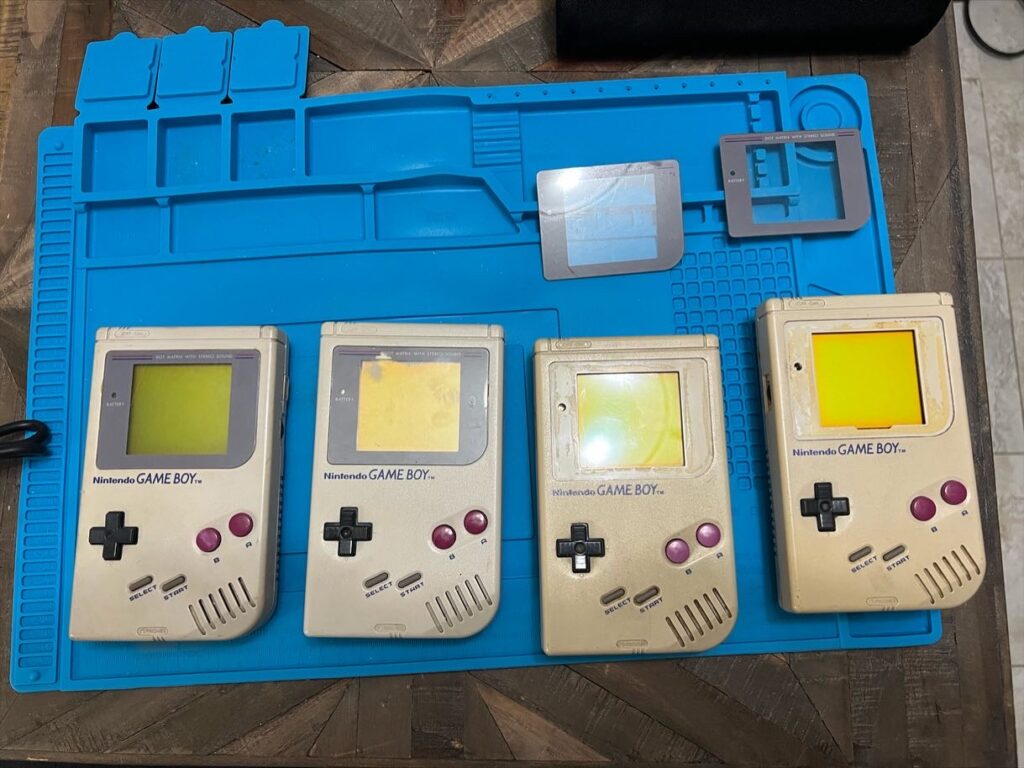
Let’s see what we can do with these suckers.
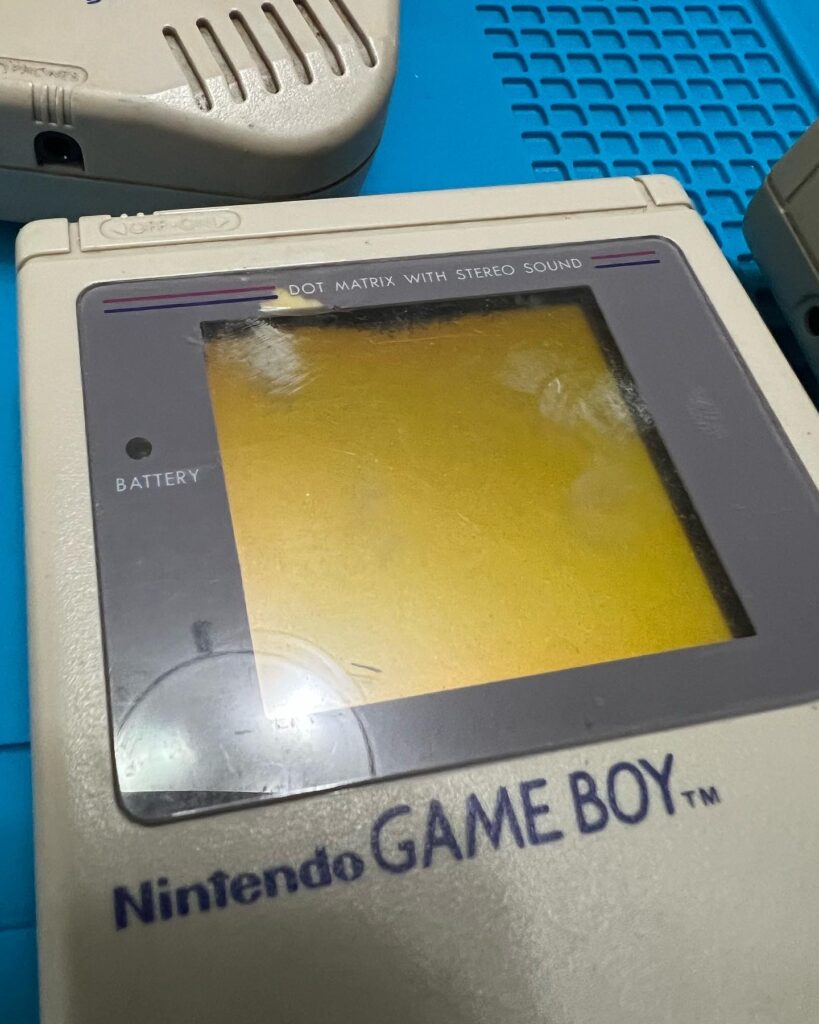
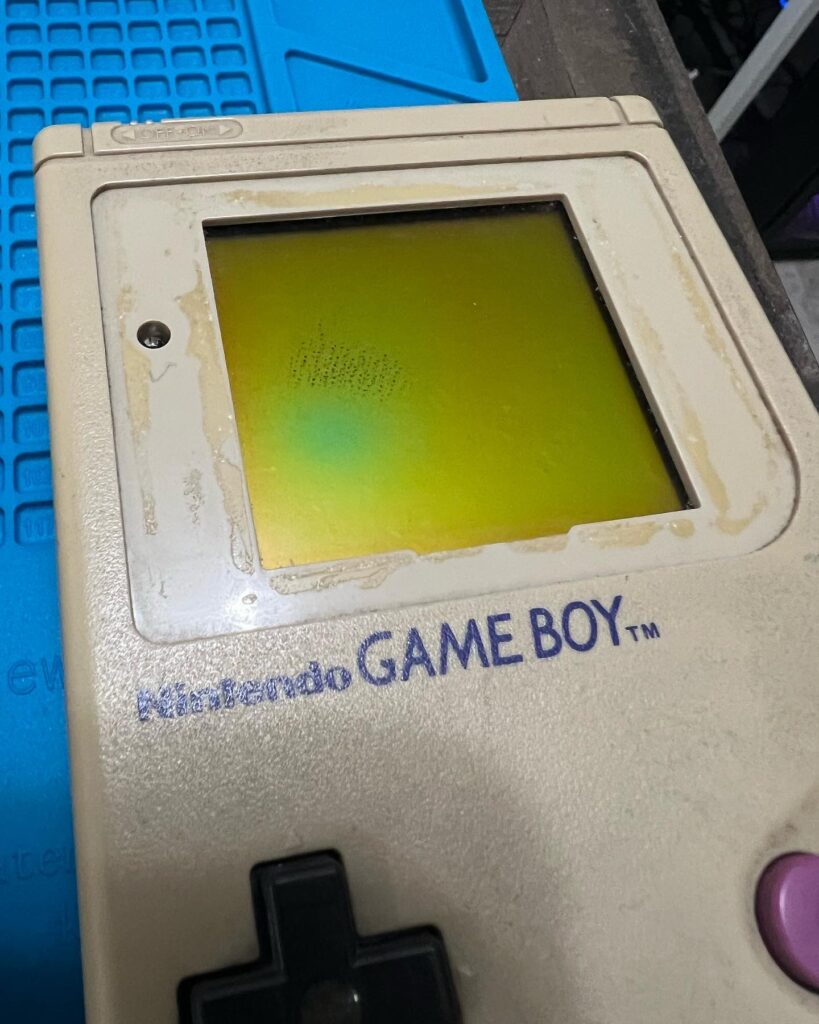
Initial impressions aren’t great. Some of the screens have damage, and the cases are scuffed and scratched. Let’s take a look at the insides.
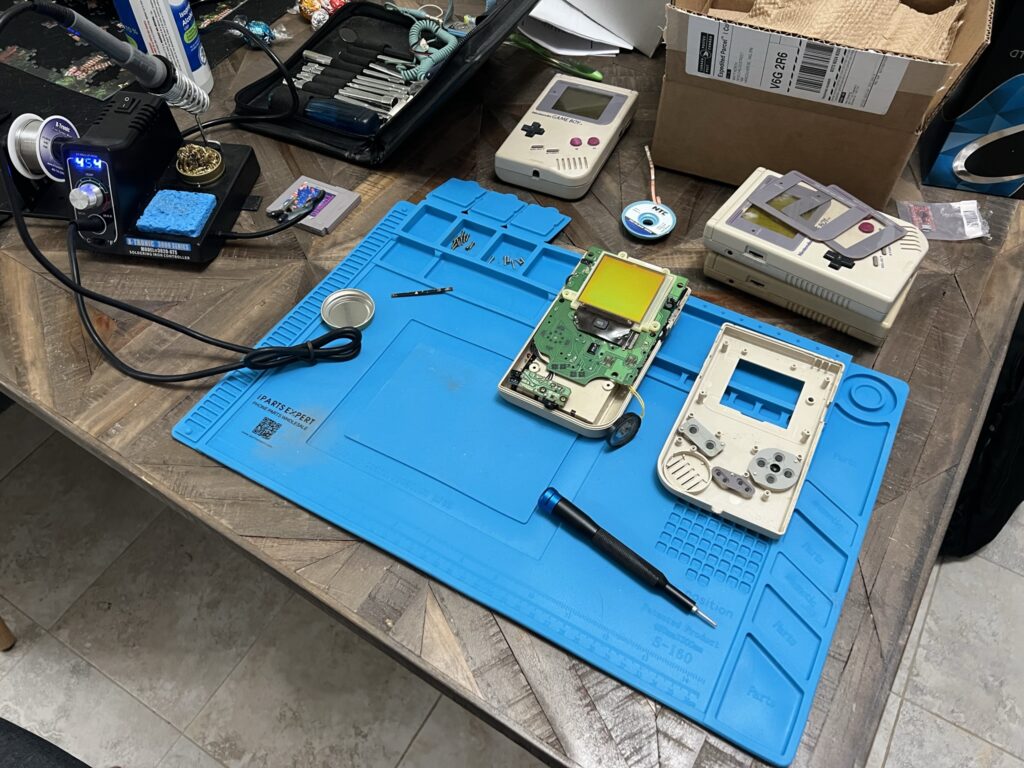
The innards seem solid and clean-ish. With the parts we have, we can refurb one stock unit.
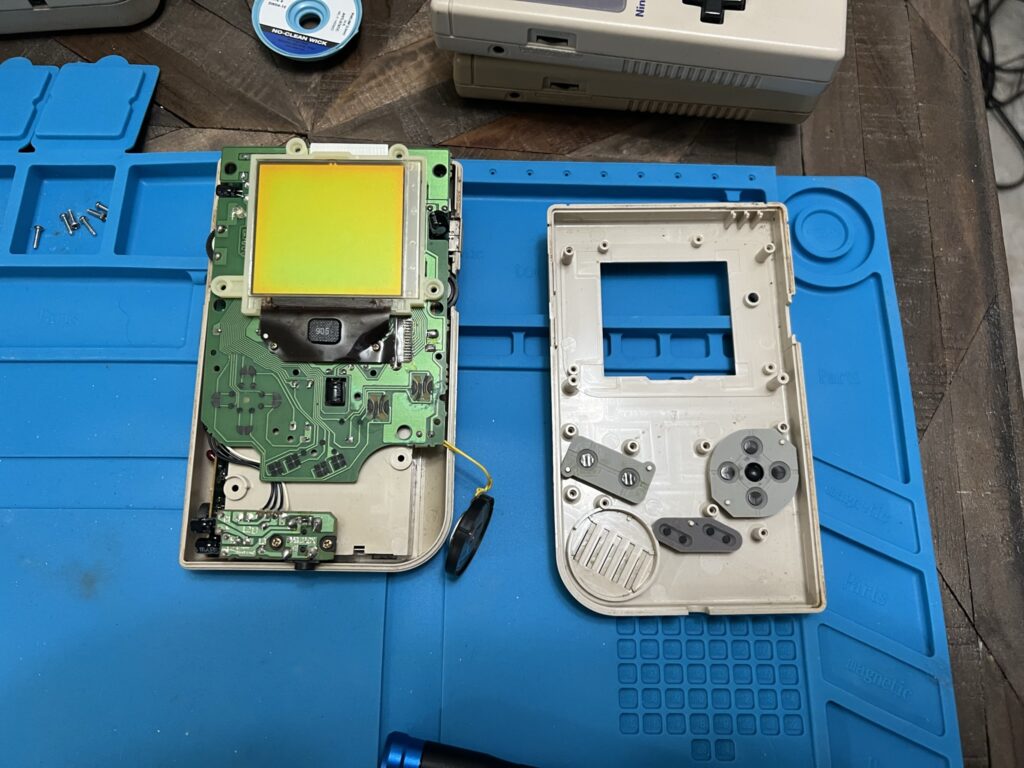
We can also harvest parts to make a modded unit with a larger backlit screen and a fresh shell amongst other things…
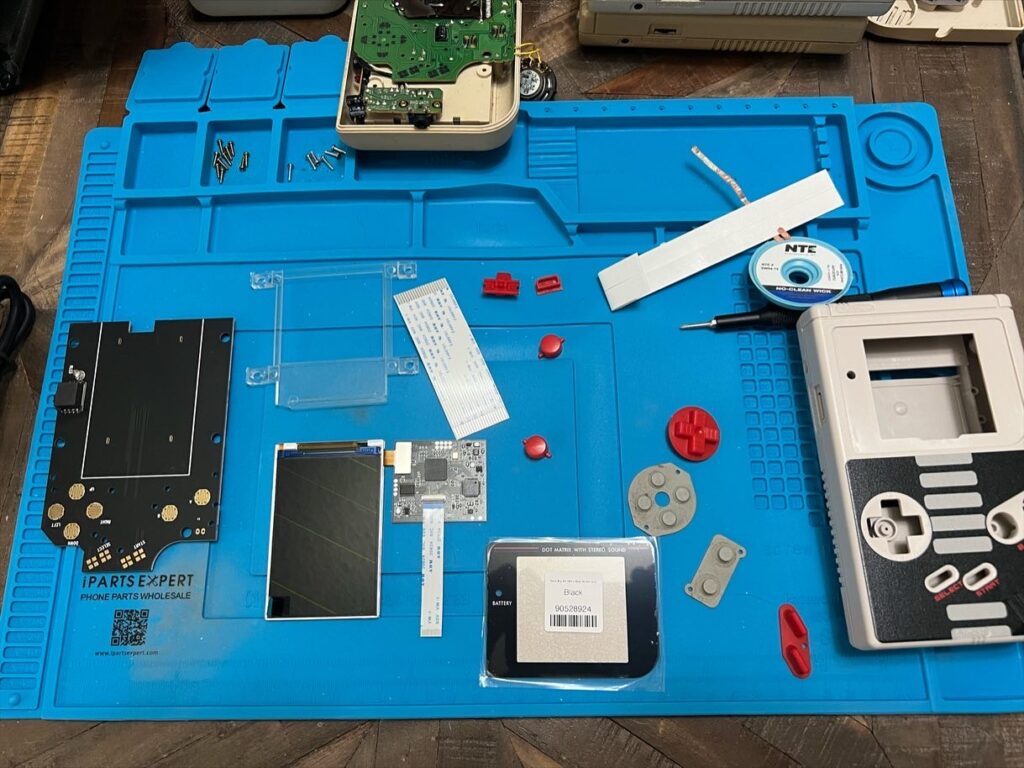
Lots of new goodies! Let’s put them together.
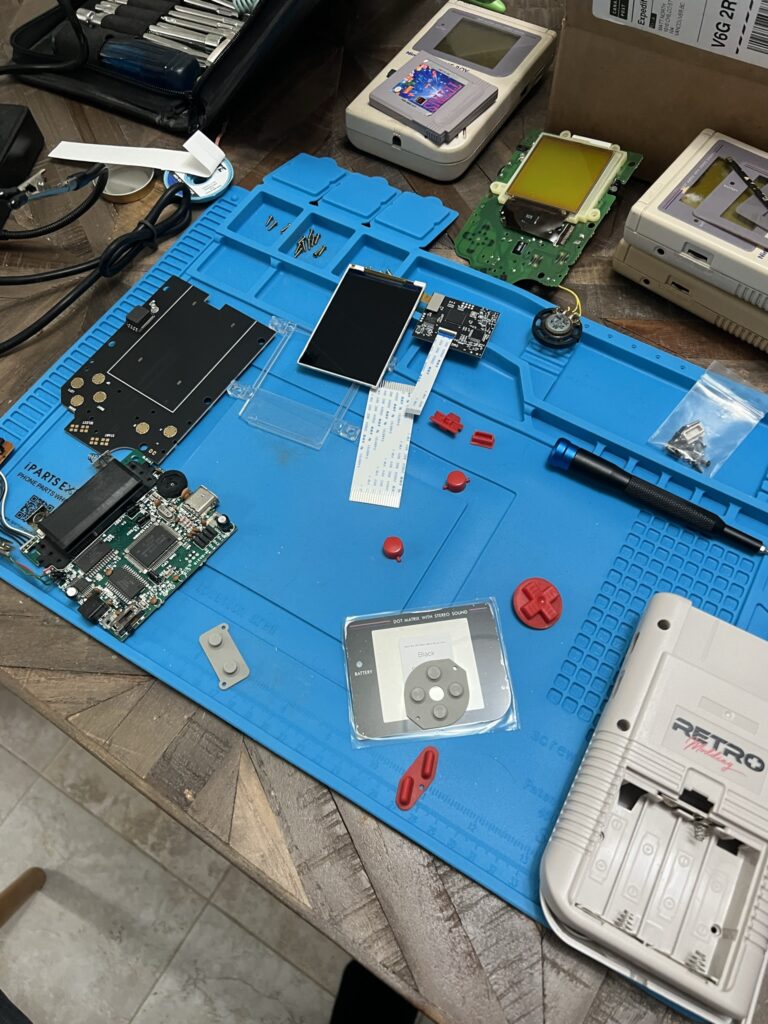
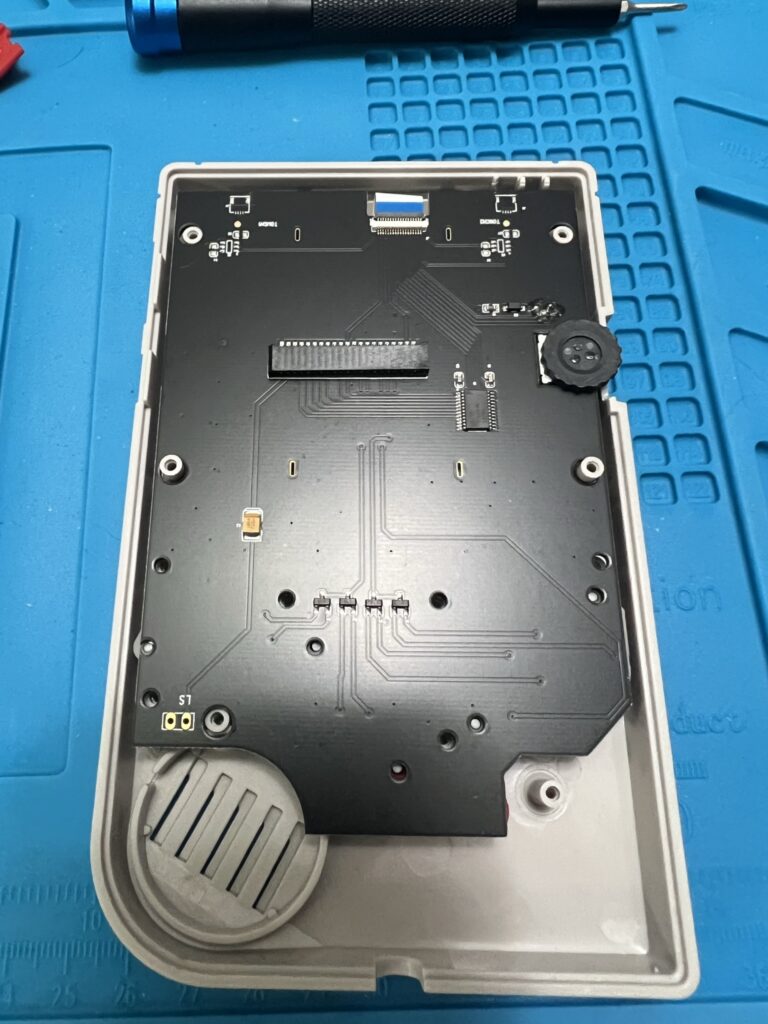
We’ve got a pretty nice Nintendo-themed setup for the modded GB, with buttons and a new shell. Let’s start by preparing the new board in black.
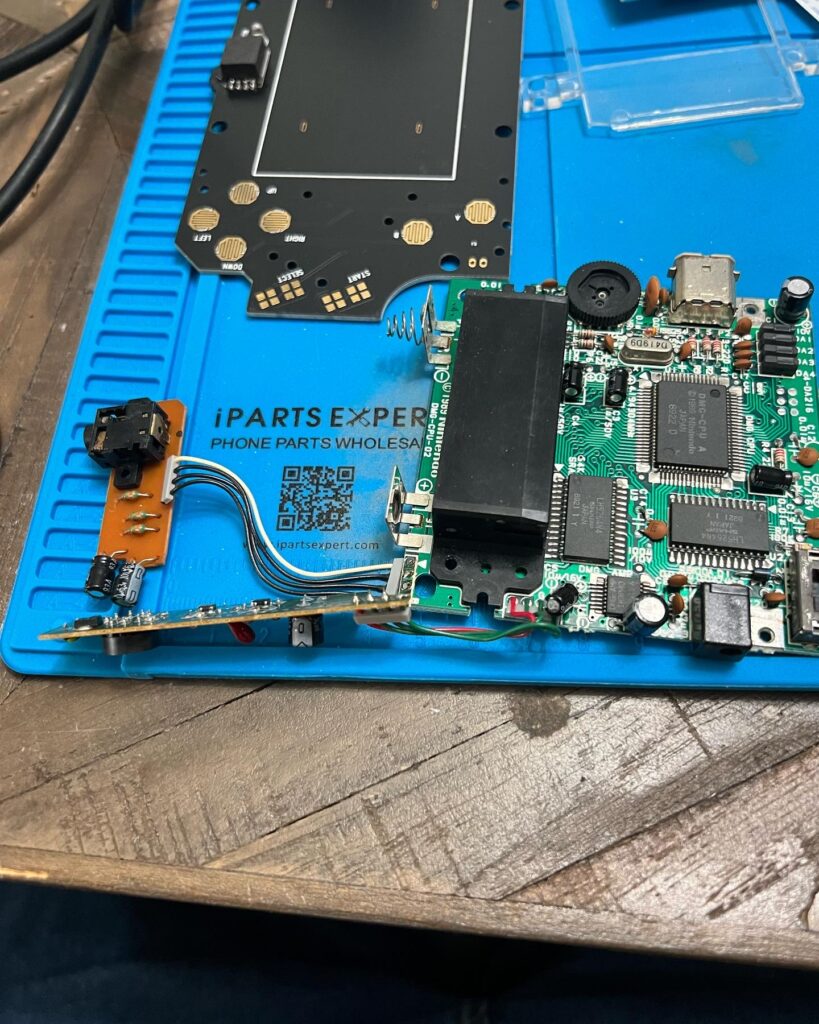
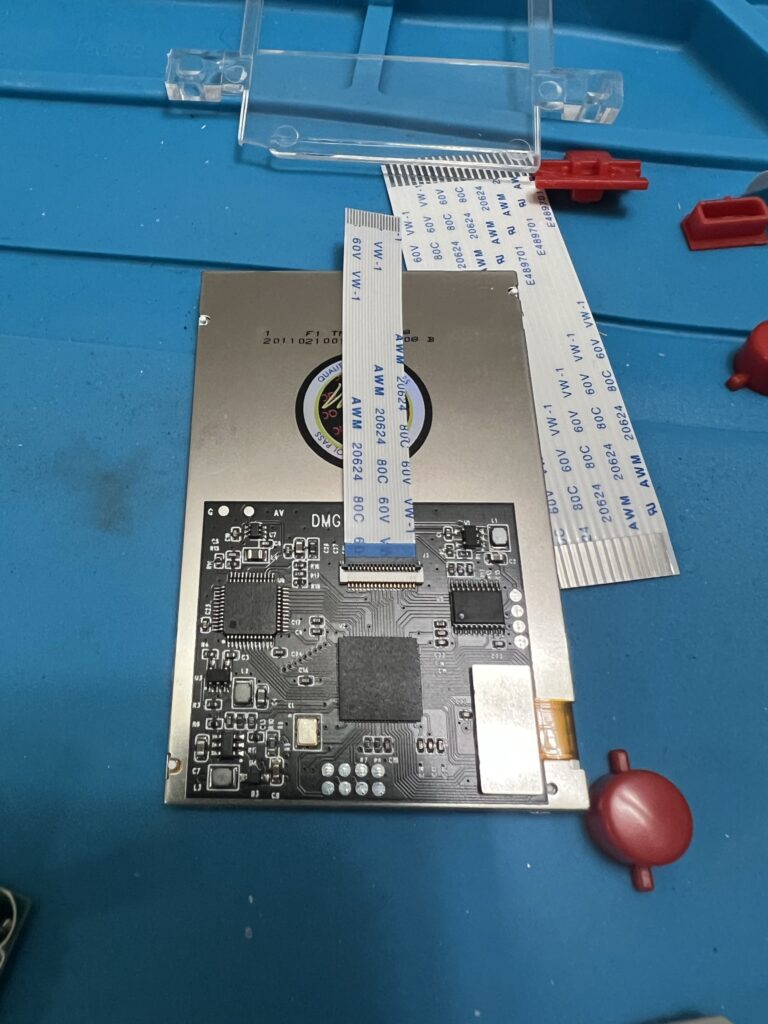
Let’s also get the screen controller hooked up to the IPS, ready for connection to the new board.
Time to pack the board into the shell. (Not shown: moving the sound board from the original unit to the new one.)
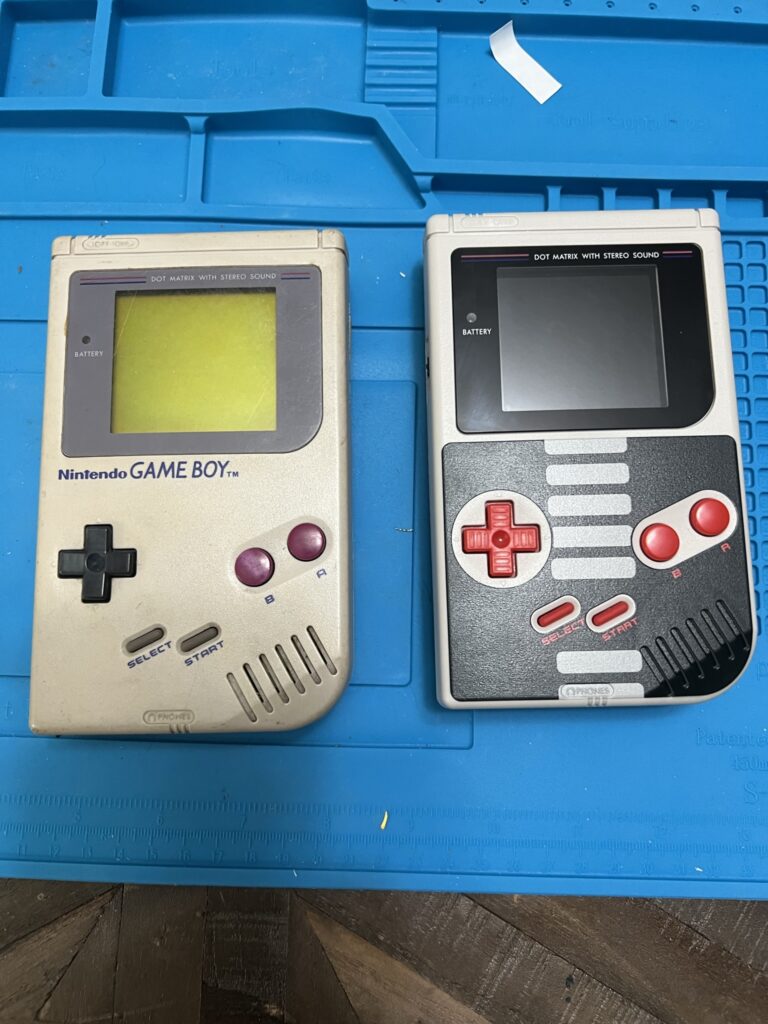
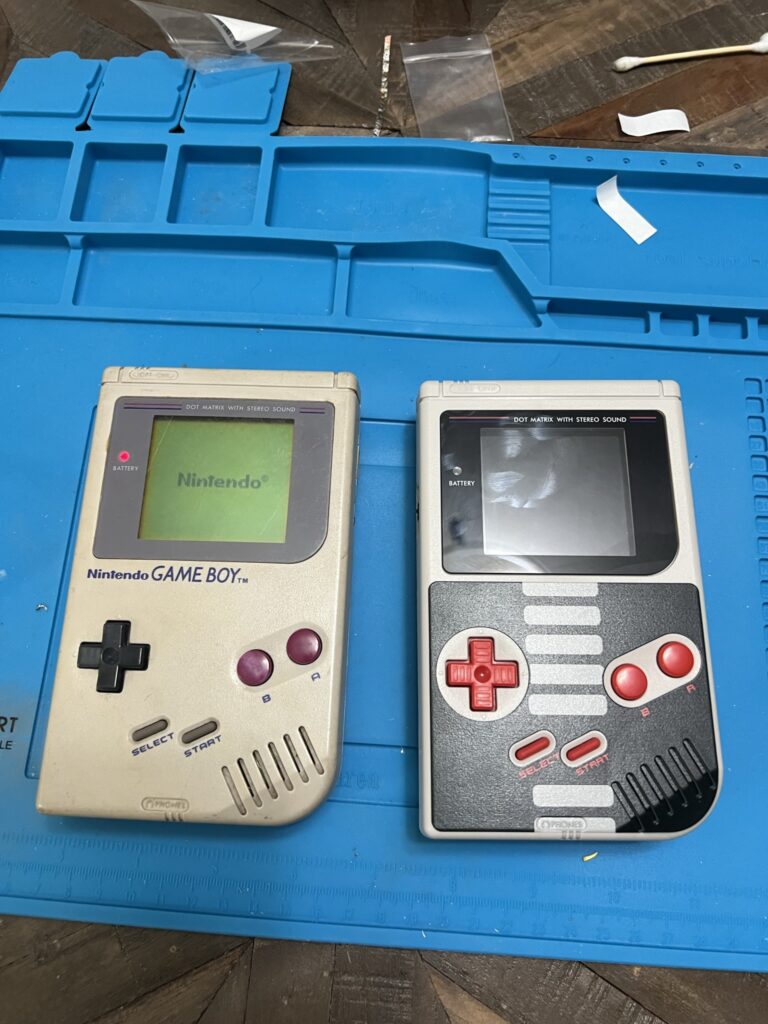
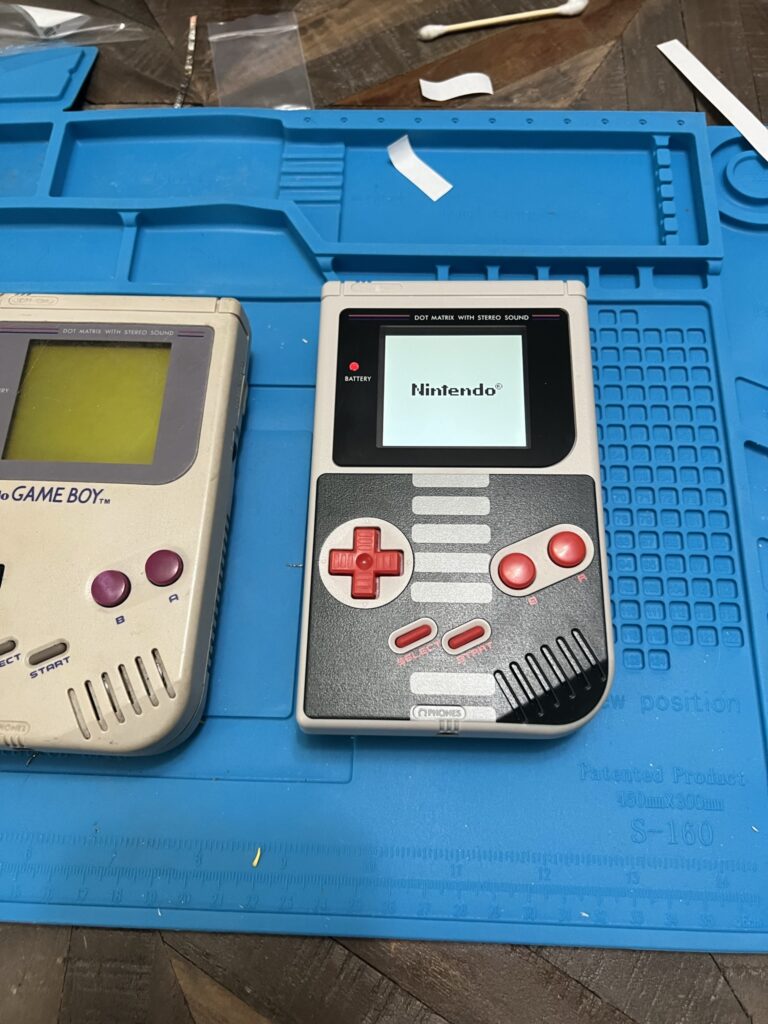
And that’s it! A pretty straightforward job, not many pain points to speak of. And here are the finished articles:
Leave a Reply