I’ve been dying to get my hands on a Retro GEM for a while now. The idea of enabling older consoles to use HDMI natively while upscaling the image is a HUGE draw for me. It’s a modification that works across multiple platforms, but in this case we’re installing it in an N64.
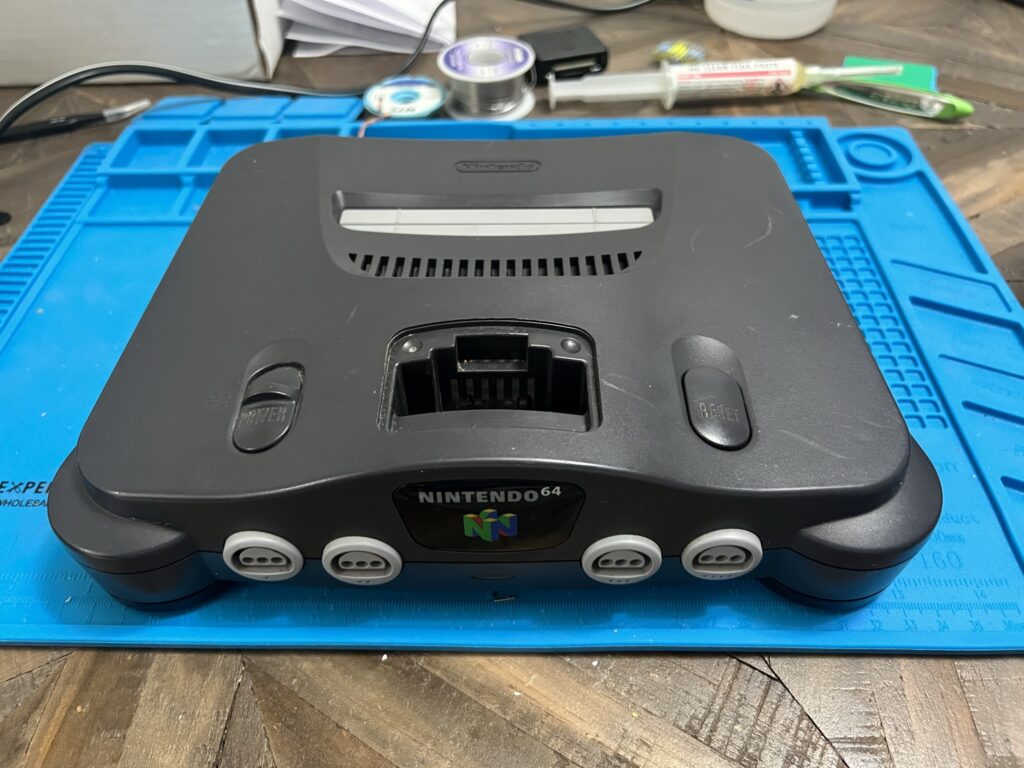
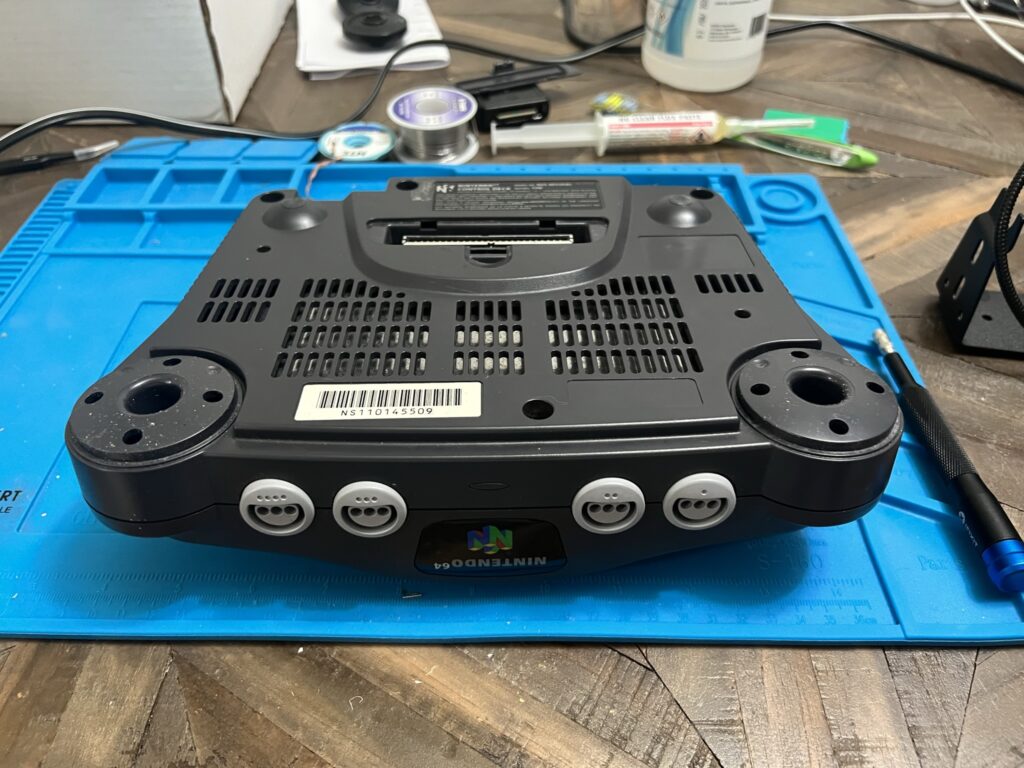
Let’s start by flipping it over and getting the screws out.
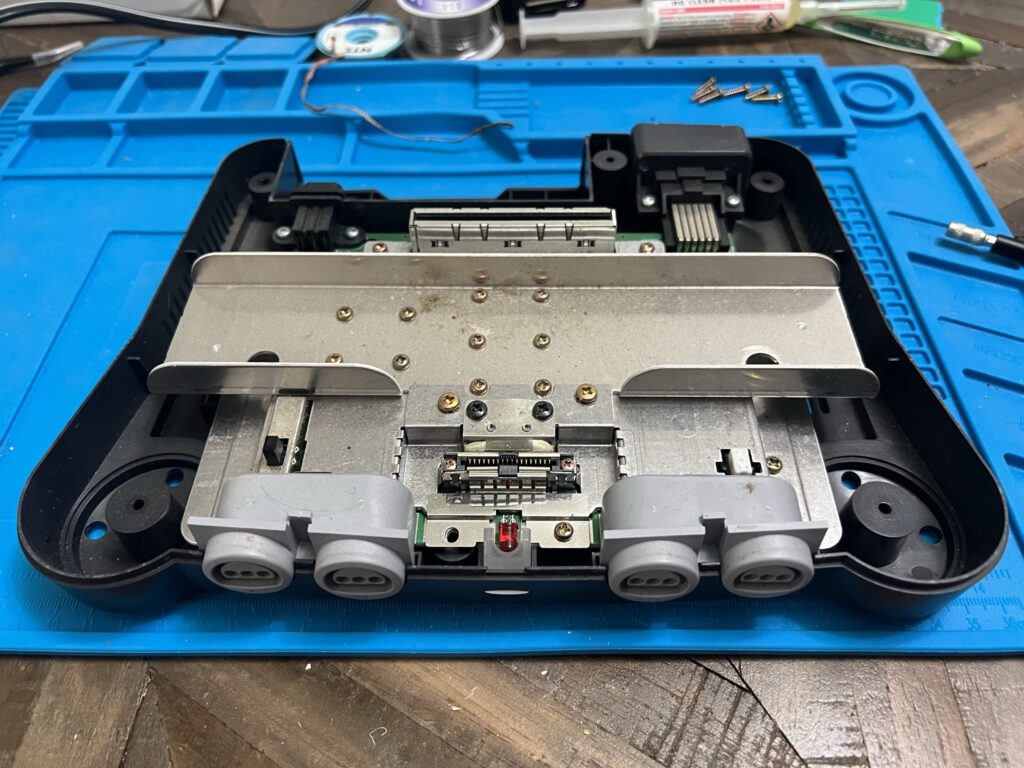
Here’s what the innards look like! The heatsink crossbar sat on top has to come off, as does the shielding around the expansion pak slot (by the red LED at the front.)
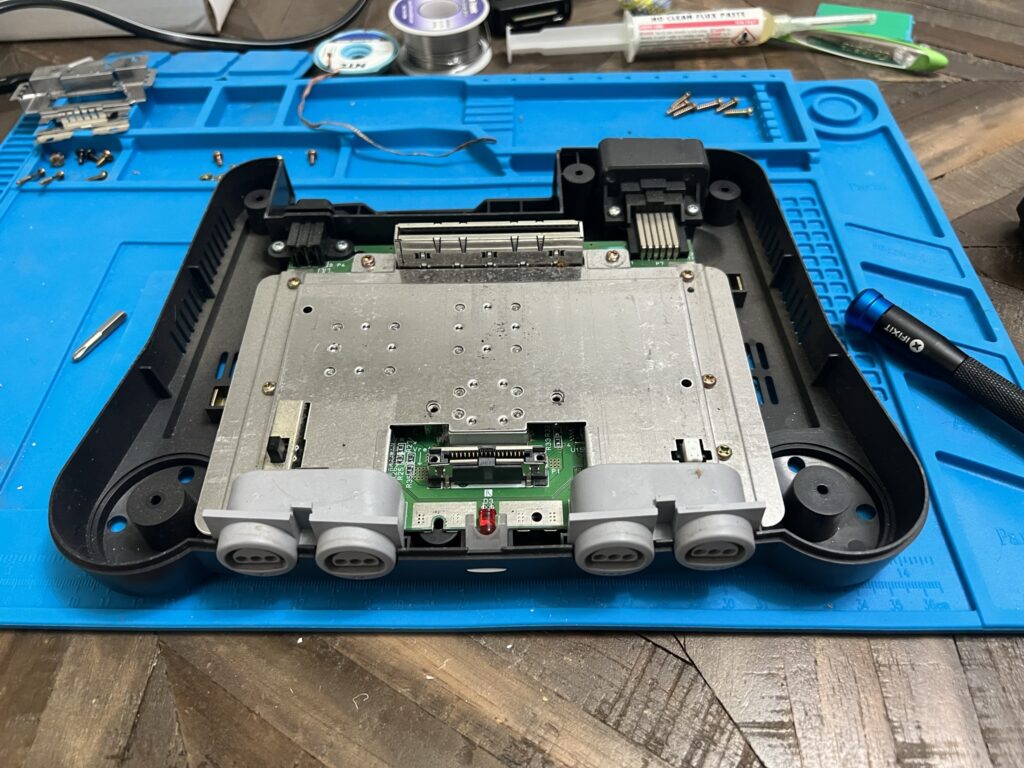
Then we’ve got to get rid of that huge metal shield!
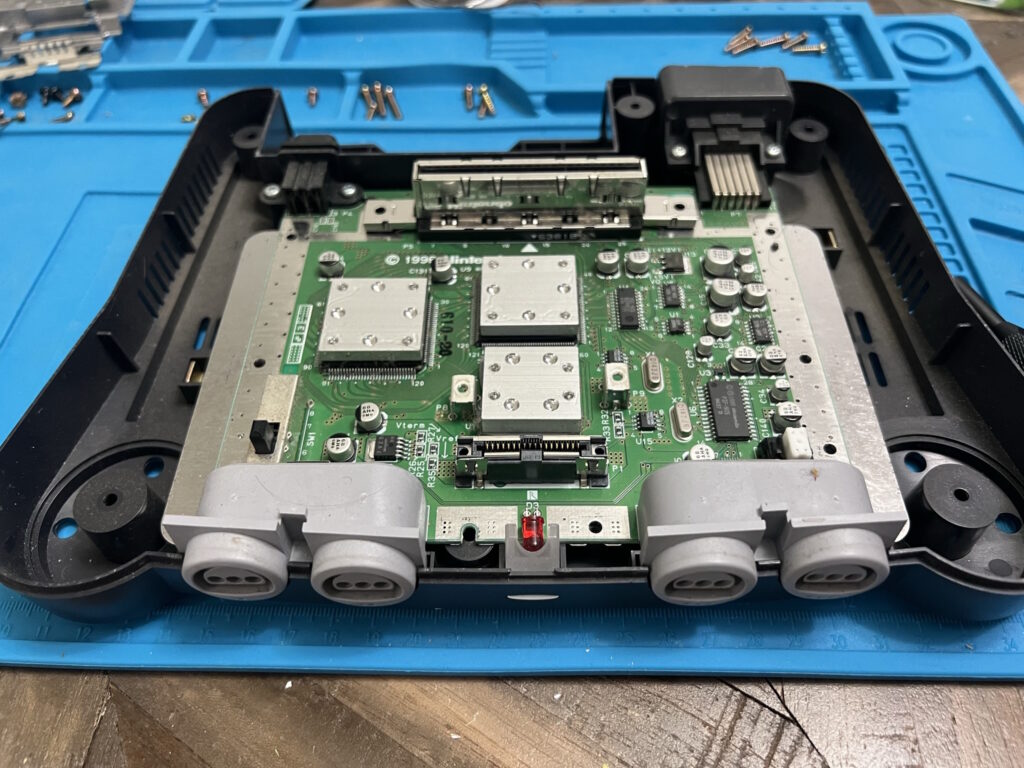
OH MY GOD IT’S NAKED. All of the chips we need are exposed, but for ease of work we’re going to lift the board out of the case altogether. Some fiddly soldering’s involved and it’ll help.
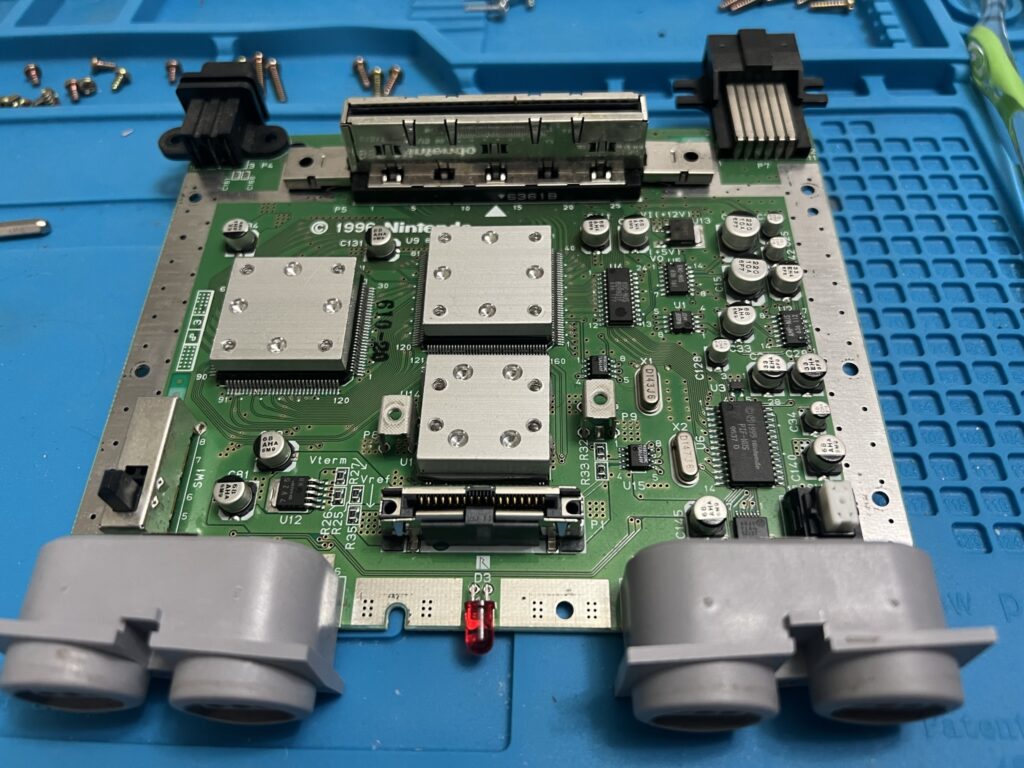
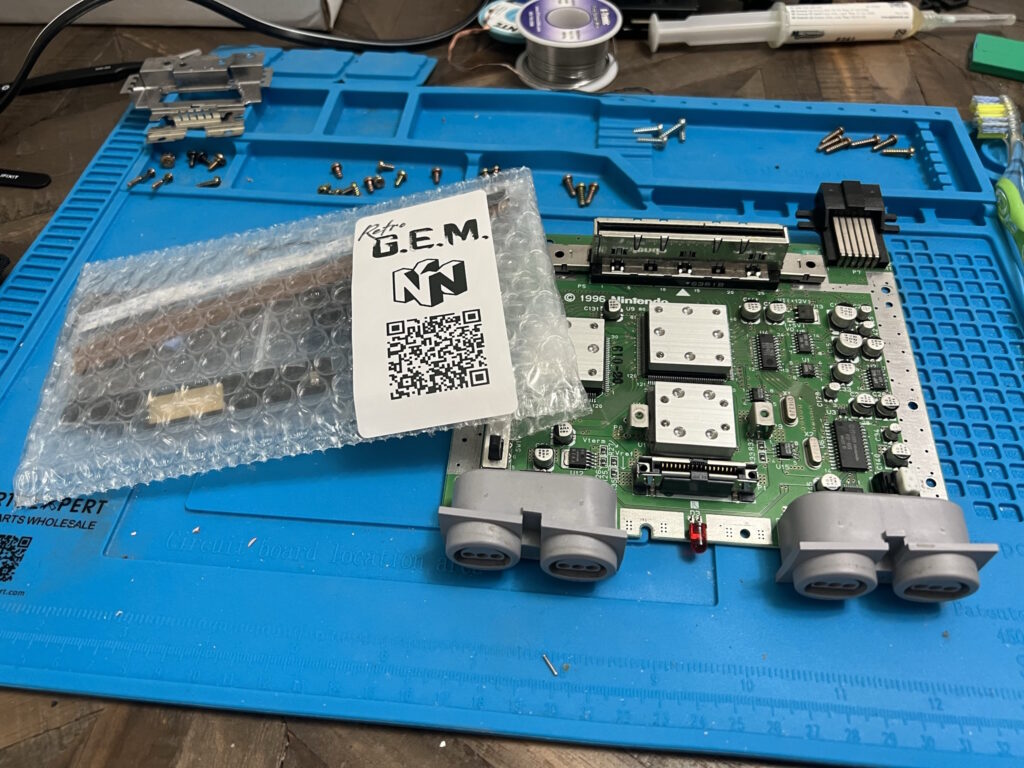
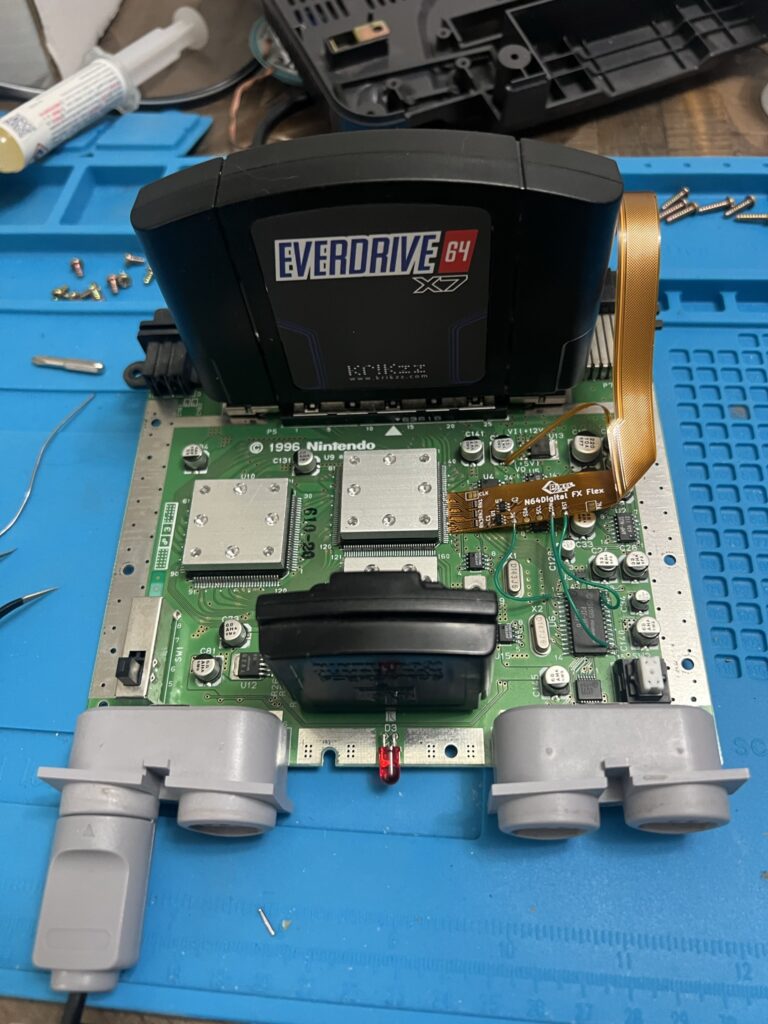
With the board clear, let’s get to it! We need to solder this flex cable to the Reality coprocessor.
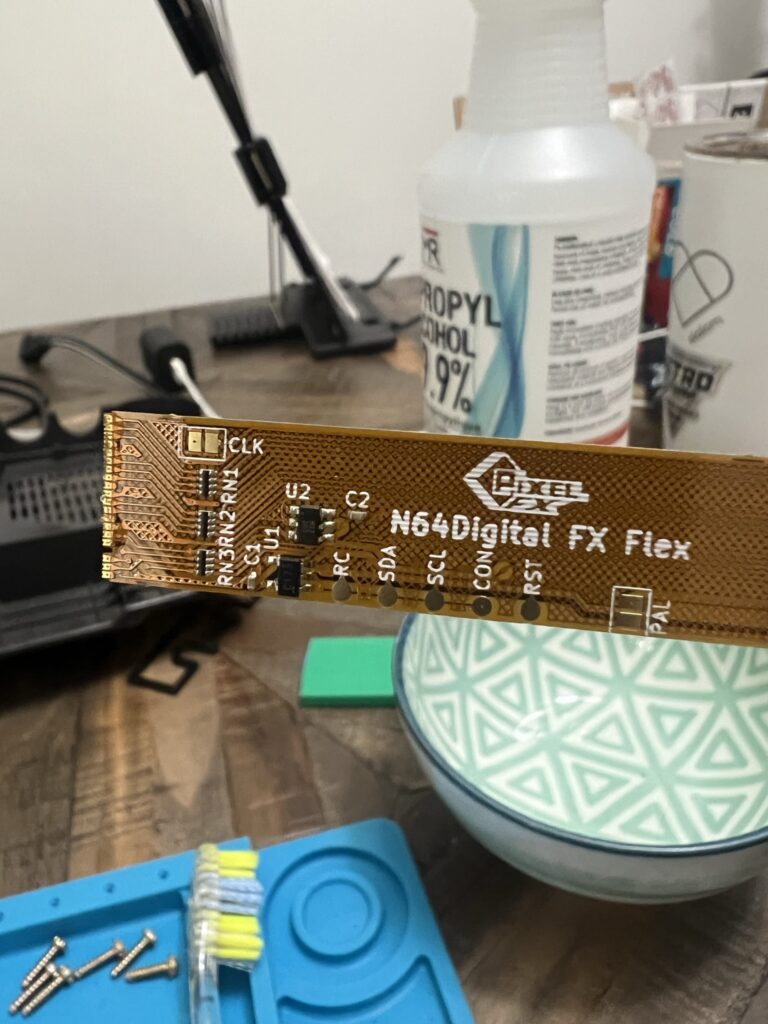
Ideally this should’ve been done pin by pin but I was able, SOMEHOW, to get away with drag soldering. If I do this again I’ll be doing it more slowly next time.
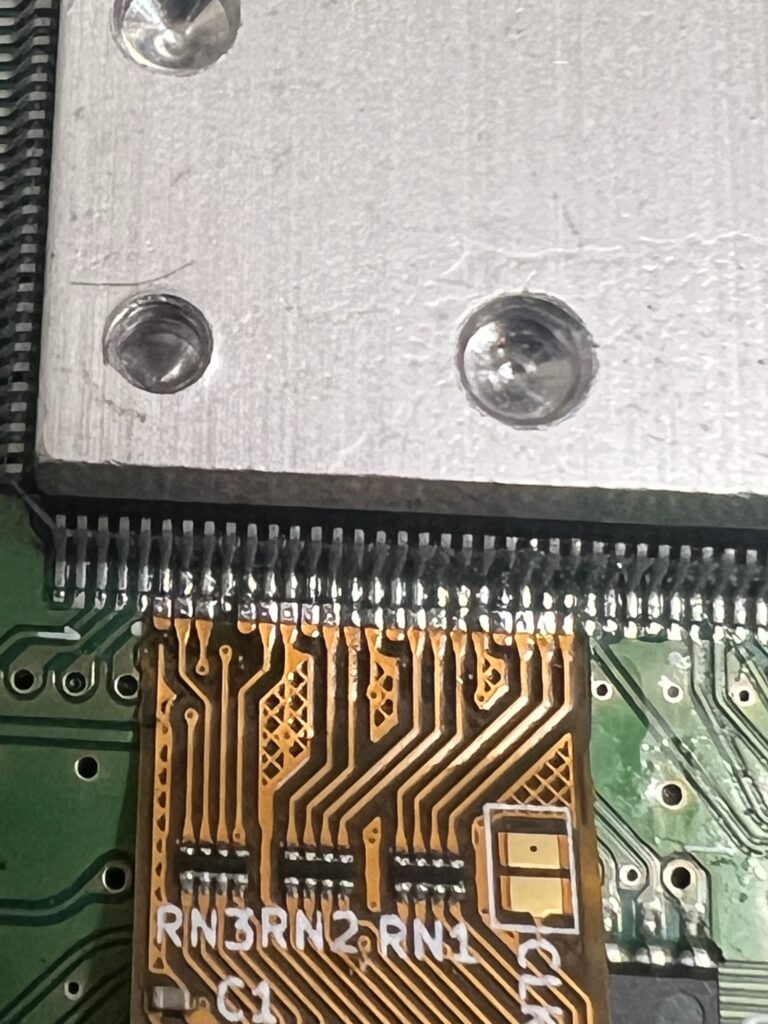
It came out pretty cleanly though! No bridges, no shorts. So far so good!
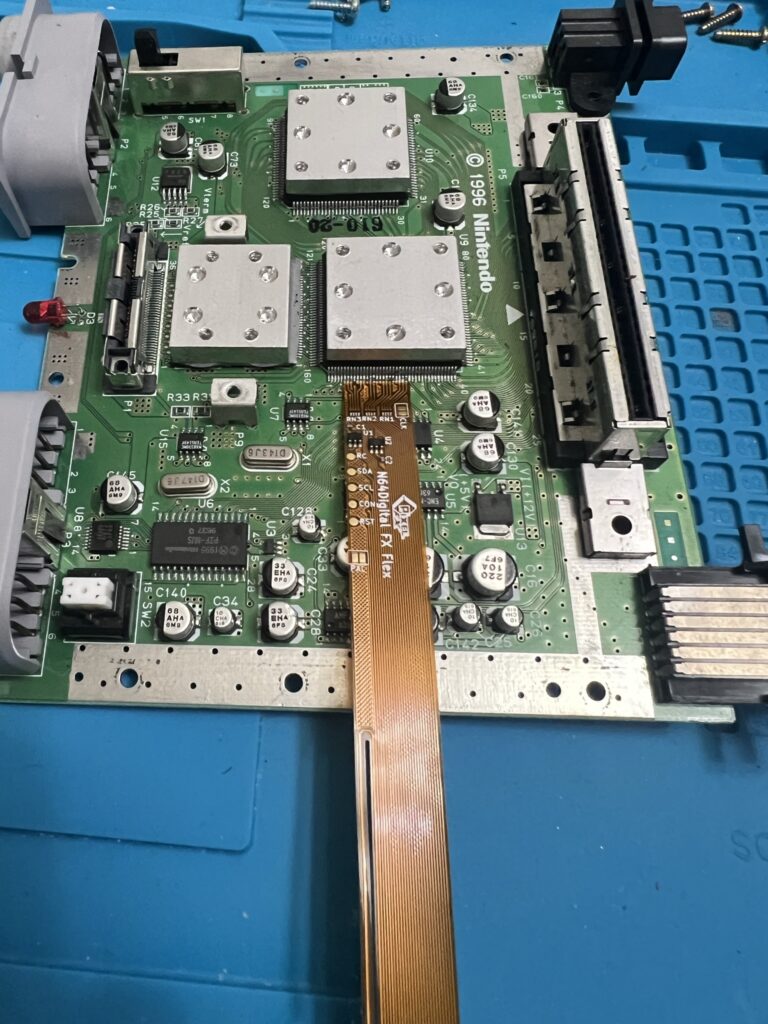
This is a long-ass cable sticking out of the side. Let’s bend it a bit and solder the needed connections…
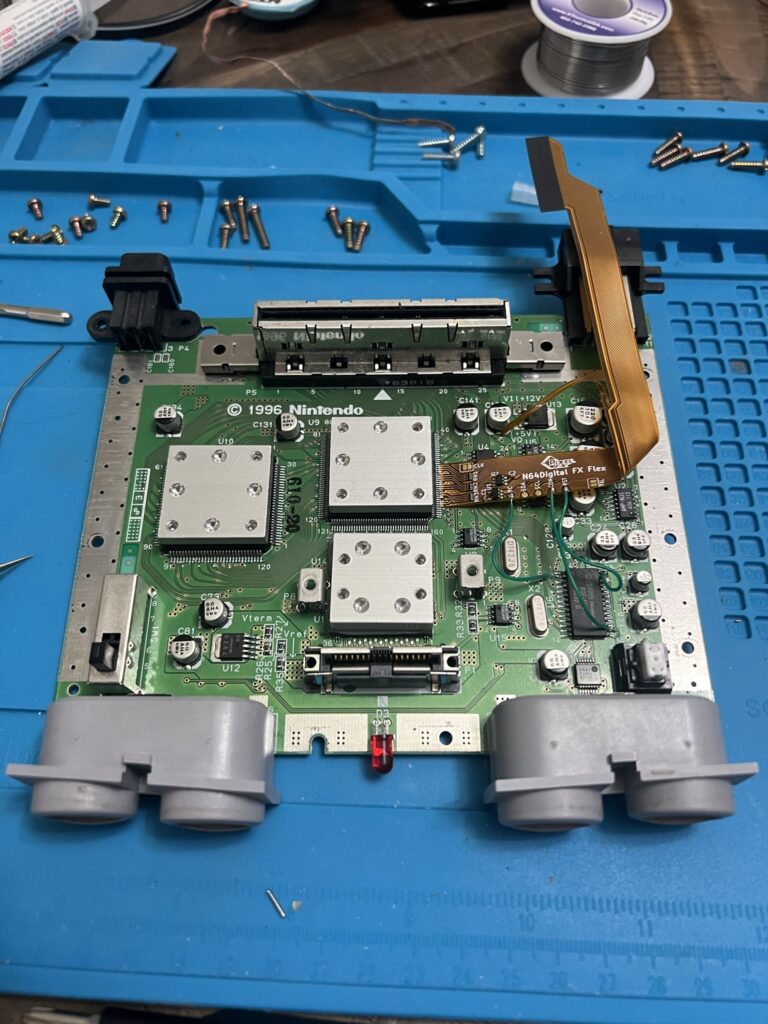
I could’ve made the green wires shorter, but eh. I’d rather have a bit of slack just in case anything gets caught. Time to hook the GEM boards up!
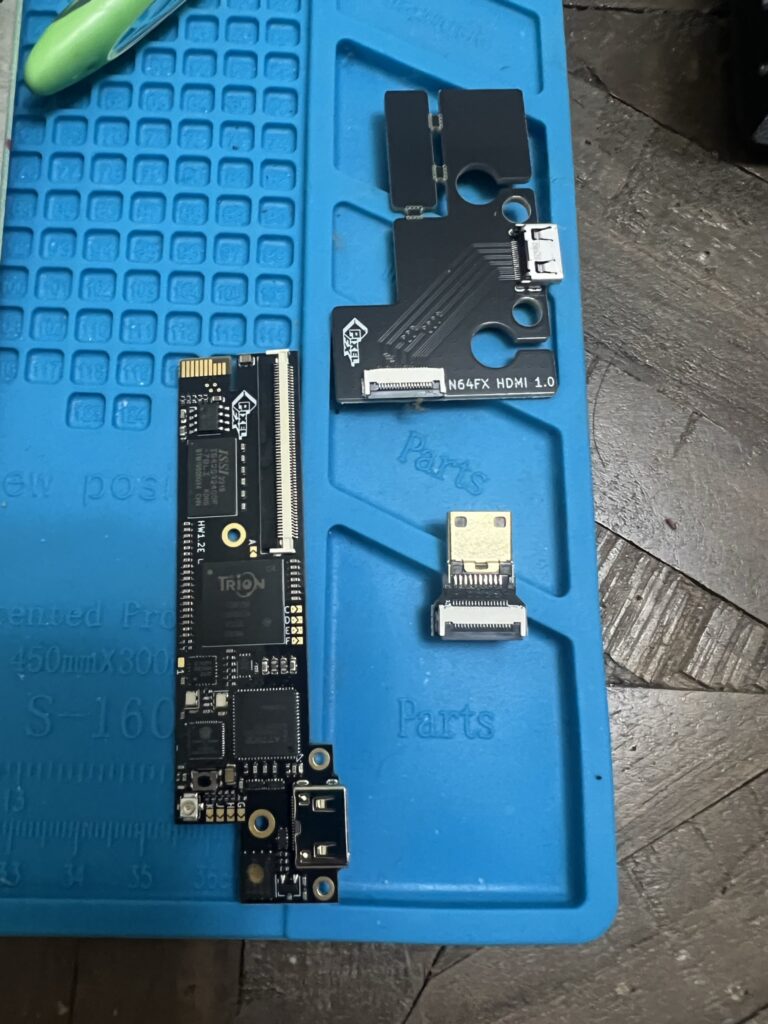
(Don’t worry, I set the jumpers after this photo.)
With everything set up it’s time to test. Let’s power up the board, still out of the case.
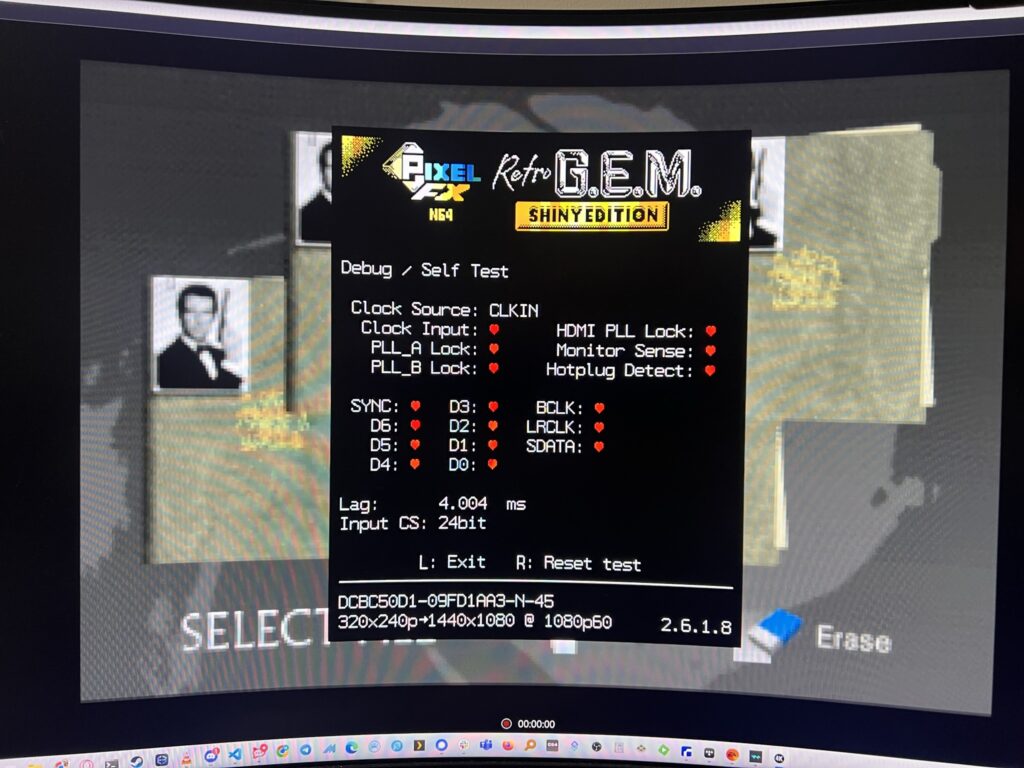
We have picture and sound, and the self-test reports everything’s good! Success!
Leave a Reply