I FINALLY got a console I’ve been after for a long time: the venerable, most excellent Sega Dreamcast. The plan is to replace the laser with a GDEmu for ease of use, and to add the DCDigital HDMI out mod so we can use it with modern TVs. Let’s crack it open and get started!

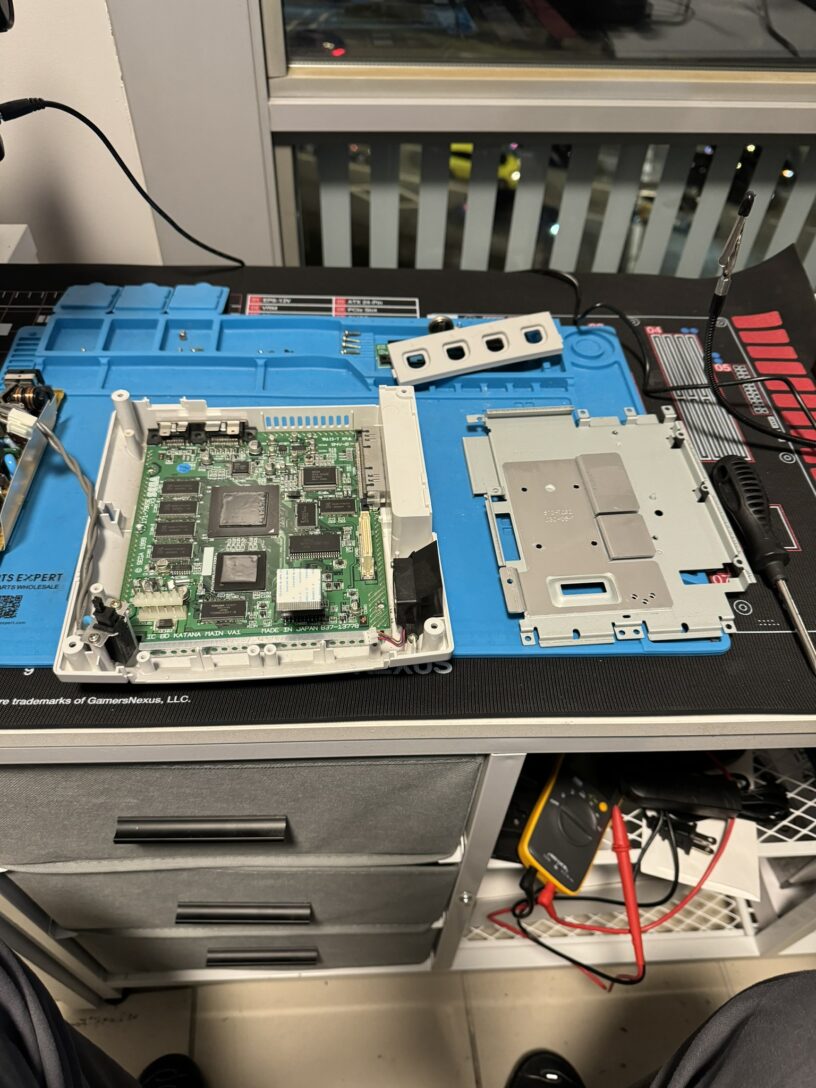
So far it looks nice and clean! Let’s get the mainboard out of the case and take a closer look.

This does look nice. No dust, no bugs, nothing to give me cause for concern. Ignore the missing thermal pads – I replaced them anyway. We need to trim down one of the metal shields a little, to make room for the extra board we’re adding.

This was painless! Now for the case mod – time to do some drilling and filing…

I know some people out there are screaming at the screen right now, cursing my lineage and wondering aloud how I could defile such a treasure. My response? Shaddap.

The initial drill work looks a bit rough, but with some filing it cleans up well and the DCDigital board fits snugly!

Here’s the look at the DCDigital board mounted in the case. PixelFX did a great job with the design on this as usual.

Now it’s time for some soldering fun! Full credit to Sega for making the Dreamcast so easy to disassemble and work with; it was an honest joy to modify.

Let’s take a closer look at the work done with the video out. This was definitely easier than some things I’ve worked on (the PS2 springs to mind.)


Everything’s looking good! Time for us to sort out the controller hookup.


And that’s a wrap! Let’s test it out…

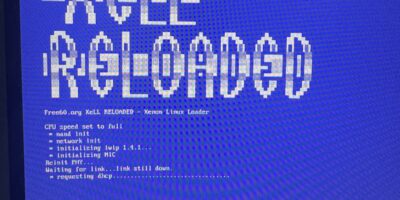
Self-test reports A-OK. Excellent! Let’s make sure the GDEmu is behaving itself as well, before we call it done.

Functionality is confirmed! That’s a wrap!
Leave a Reply