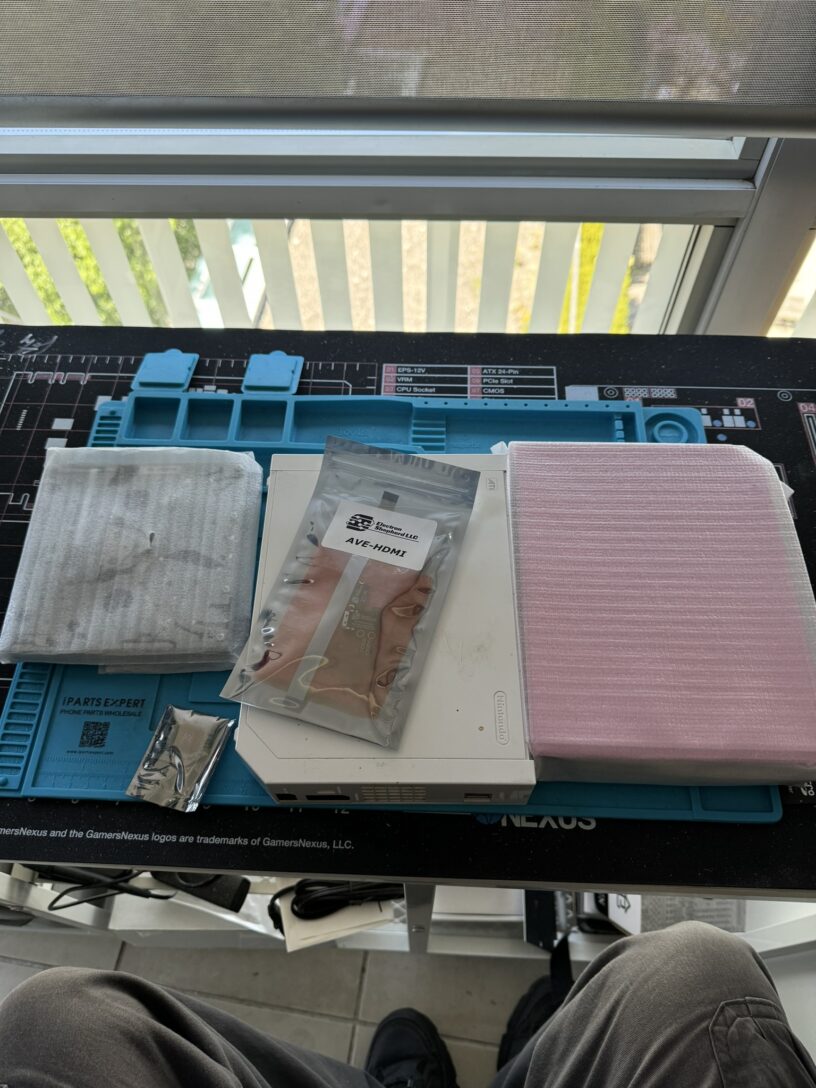
I’ve wanted to get my hands on a Wii for some time now. I remember working on modding them waaay back in 2007 and really enjoyed how small they are! Funny story, I was modding one on a workbench once when two police officers walked in. Luckily they had no idea what I was doing. ANYWAY. I wanted to make a special refurb for someone who likes a lot of pink. The initial unit cost 20bux as it worked, but the optical drive was toast.
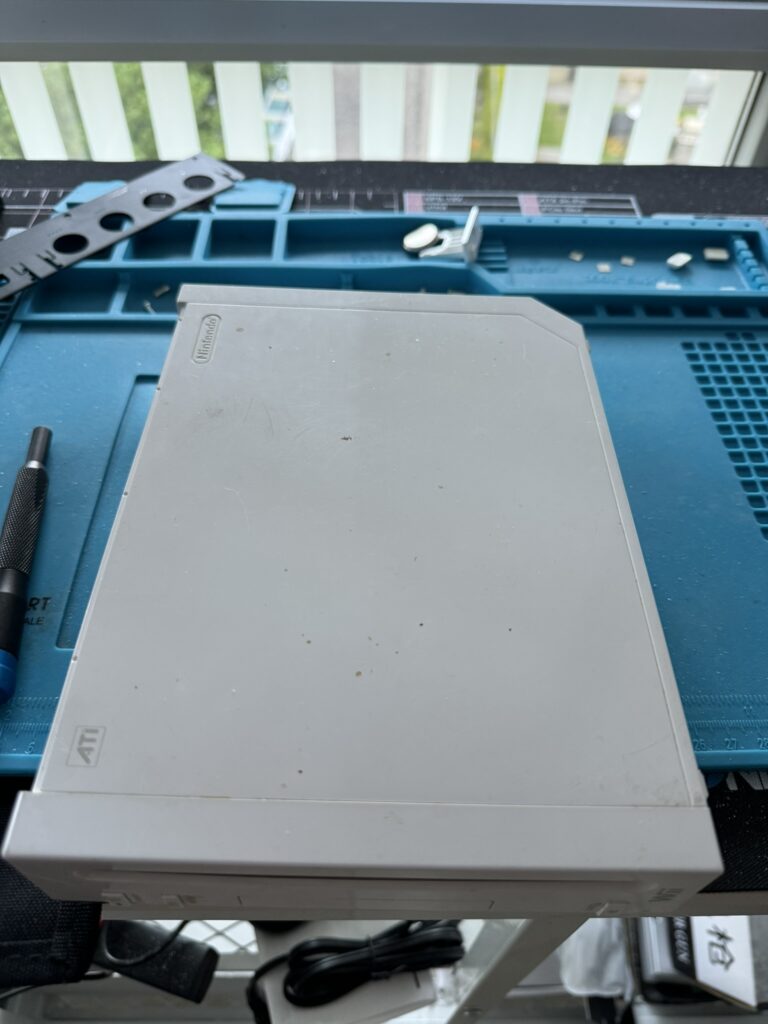
It was pretty grimy, too. Not a problem; the shell will be replaced when we do the mod work!
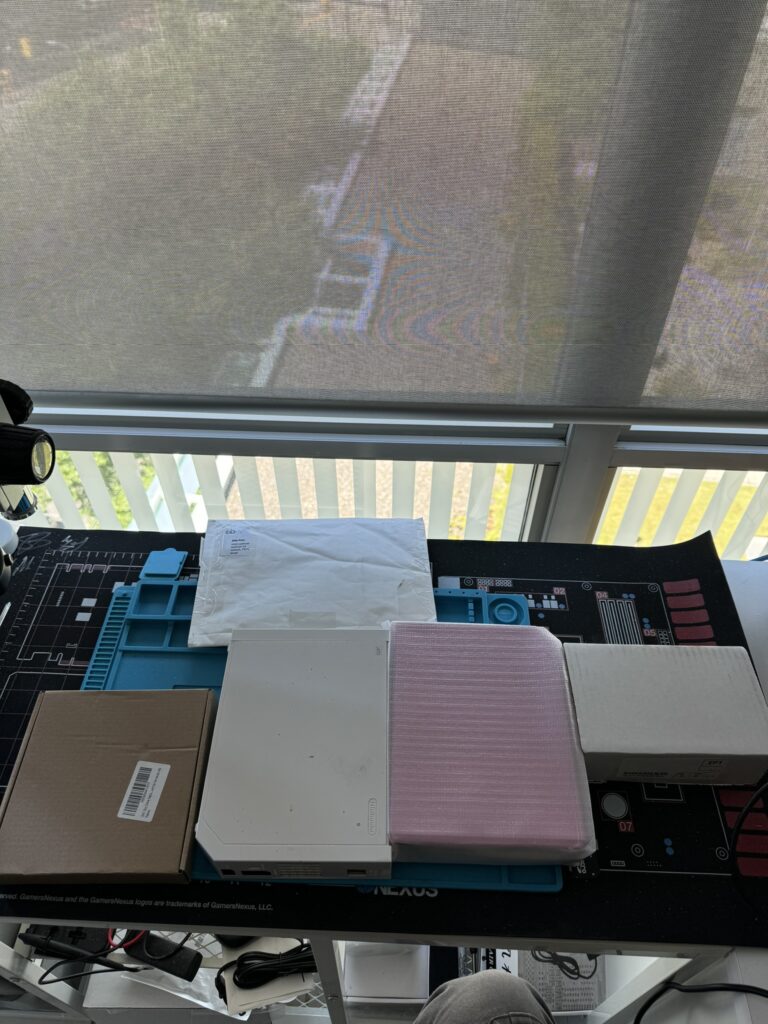
Two modifications were involved here:
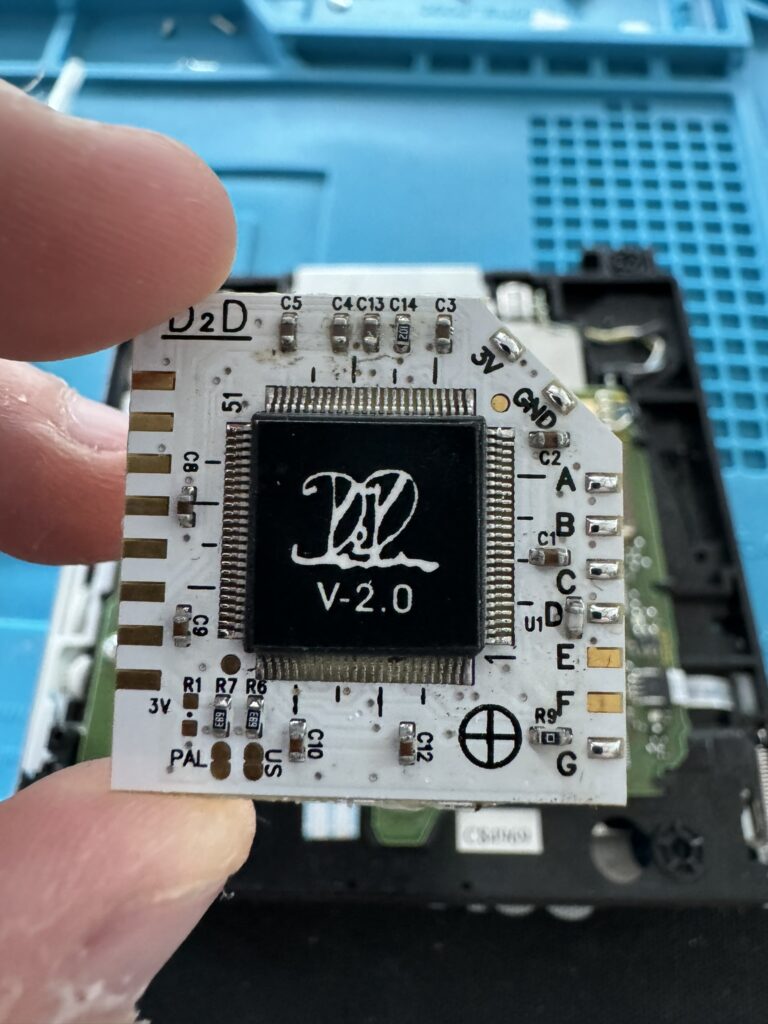
- A D2D modchip
- An Electron Shepherd ElectronAVE HDMI board.
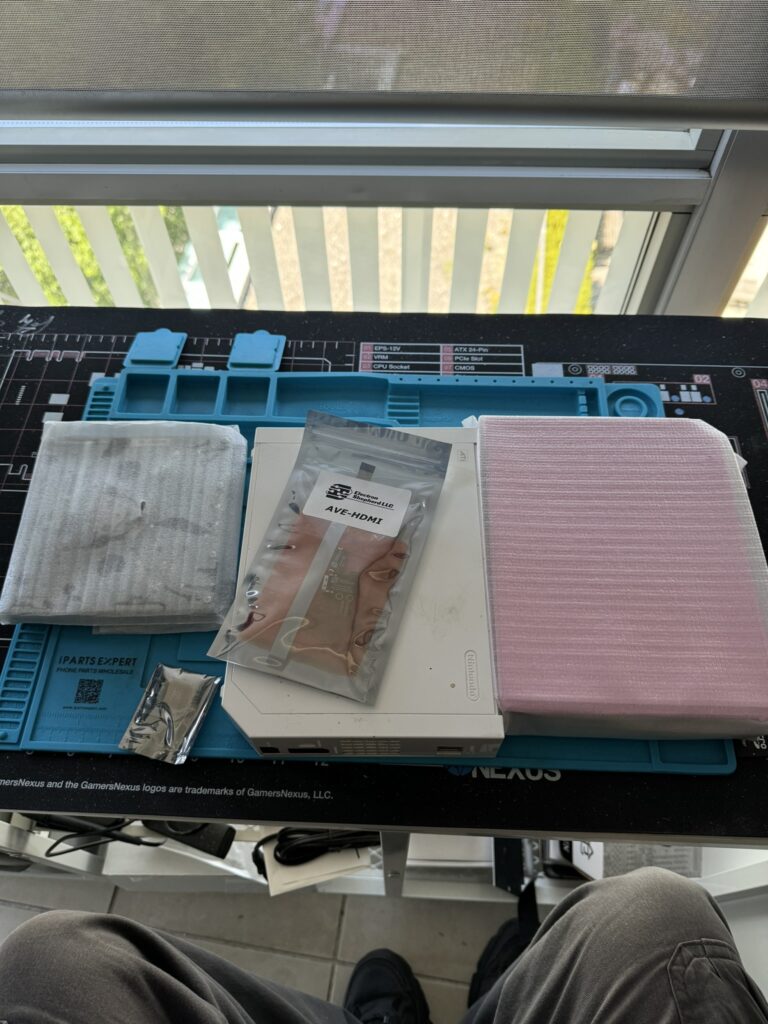
Let’s get to it! Time to crack it open and see what’s what.
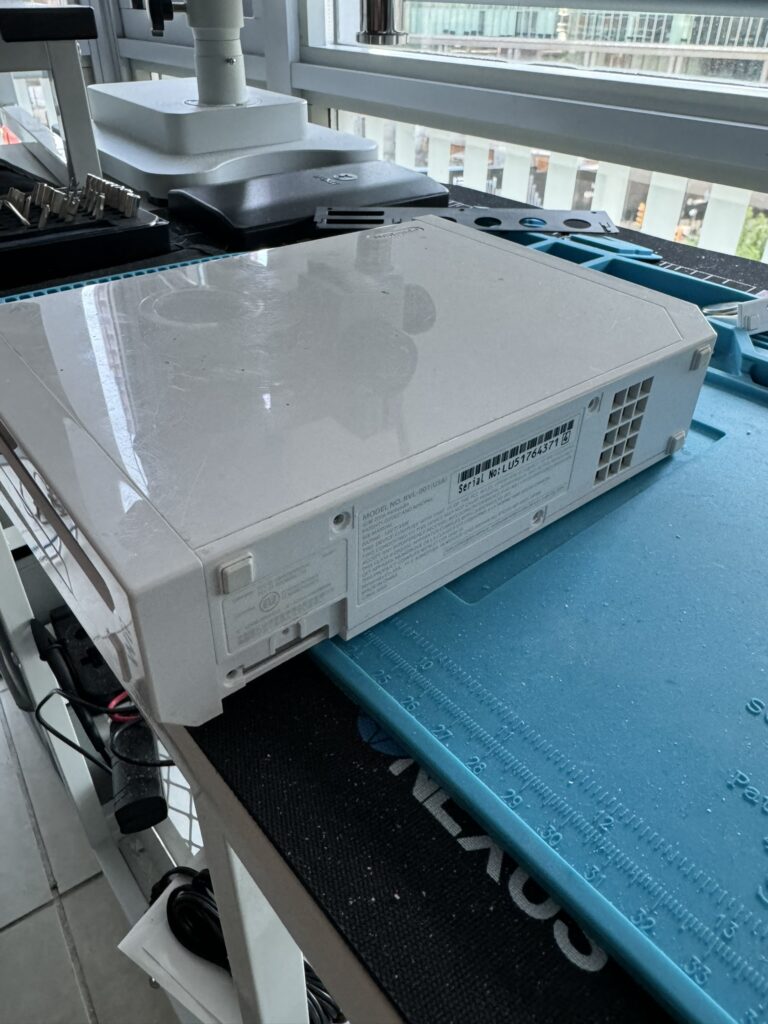
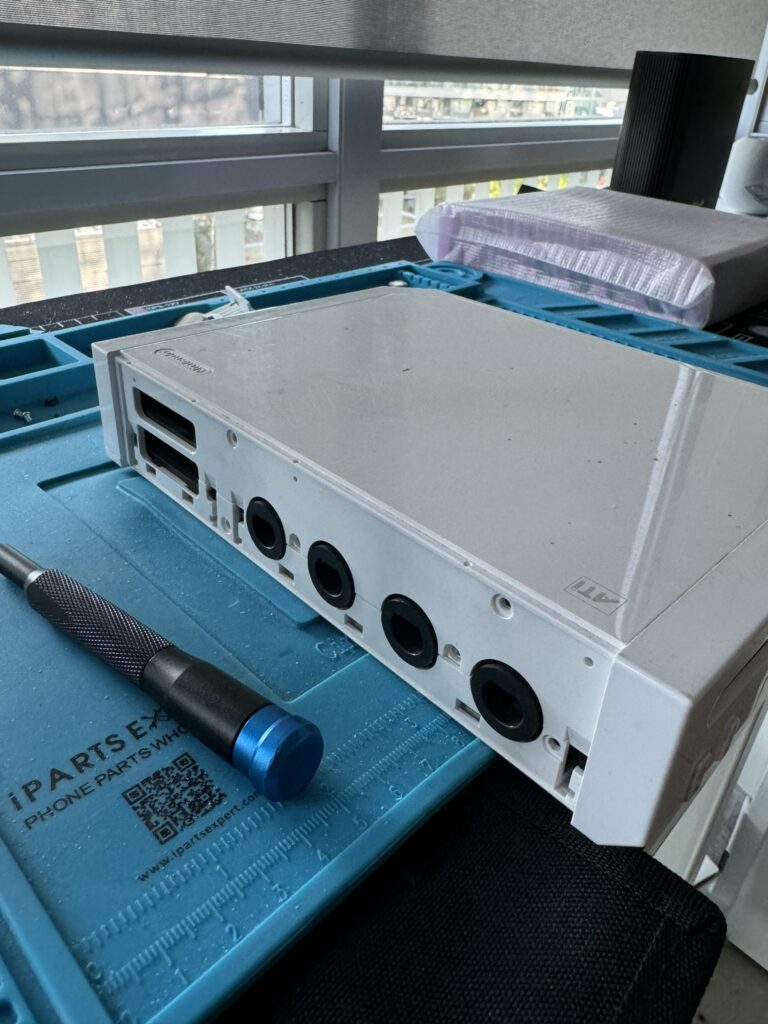
We got a Gamecube compatible one. Nice!
Let’s take a closer look at the optical drive…
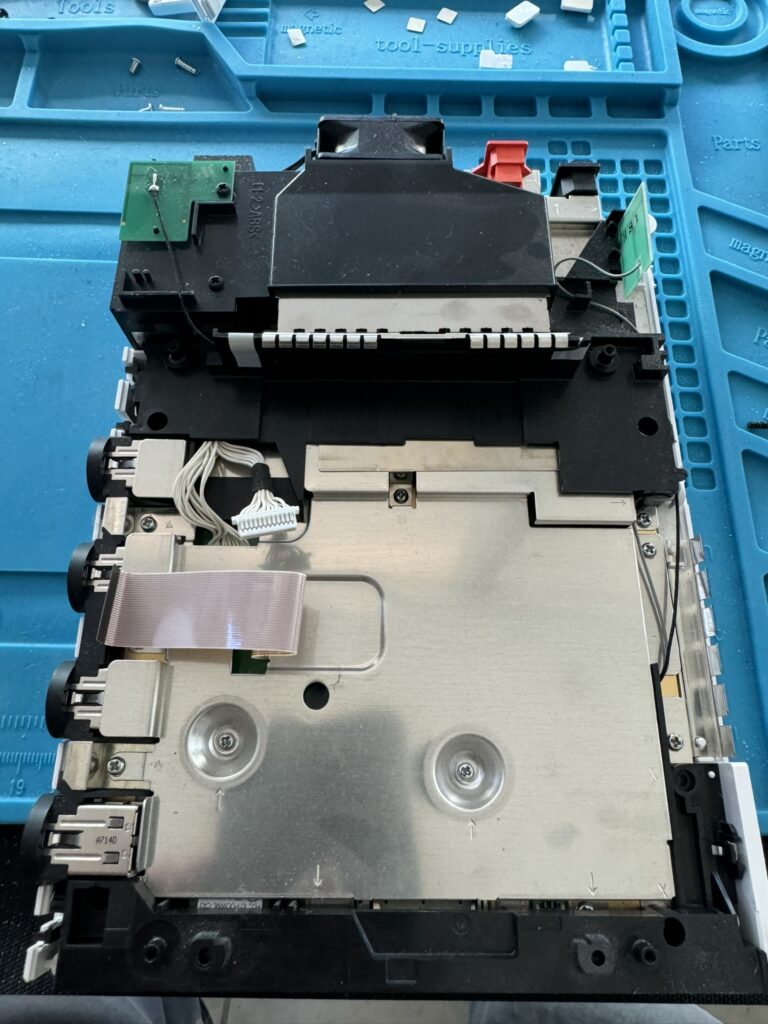
Above: the internals with the drive removed.
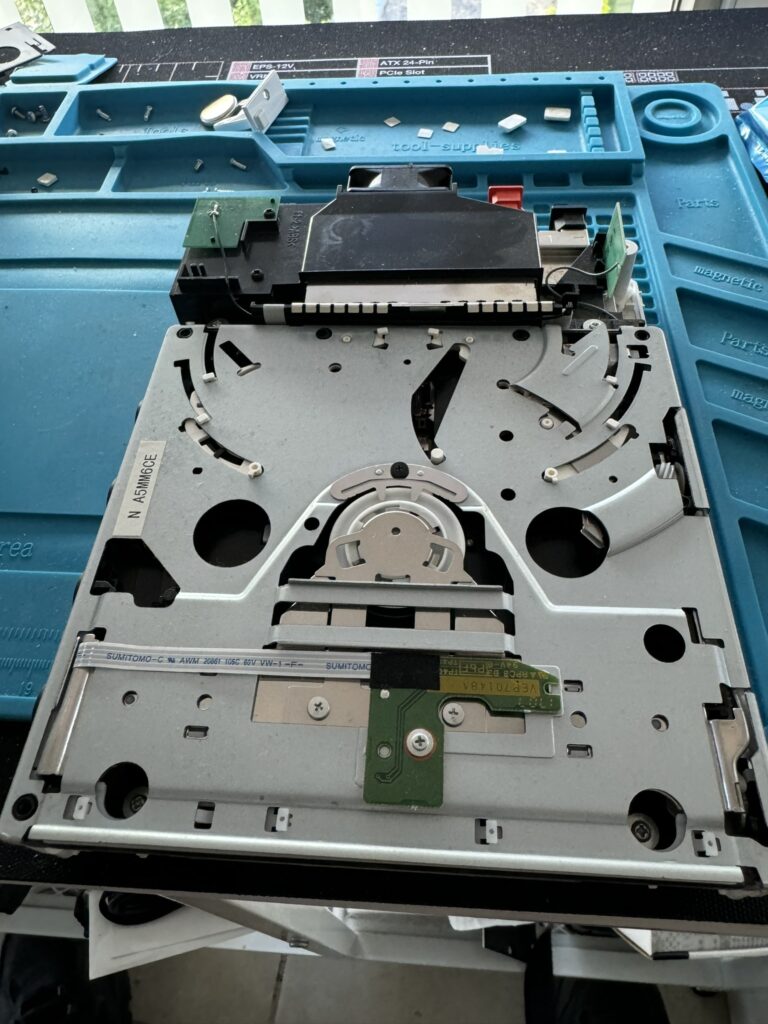
And here it is. Let’s crack it open…
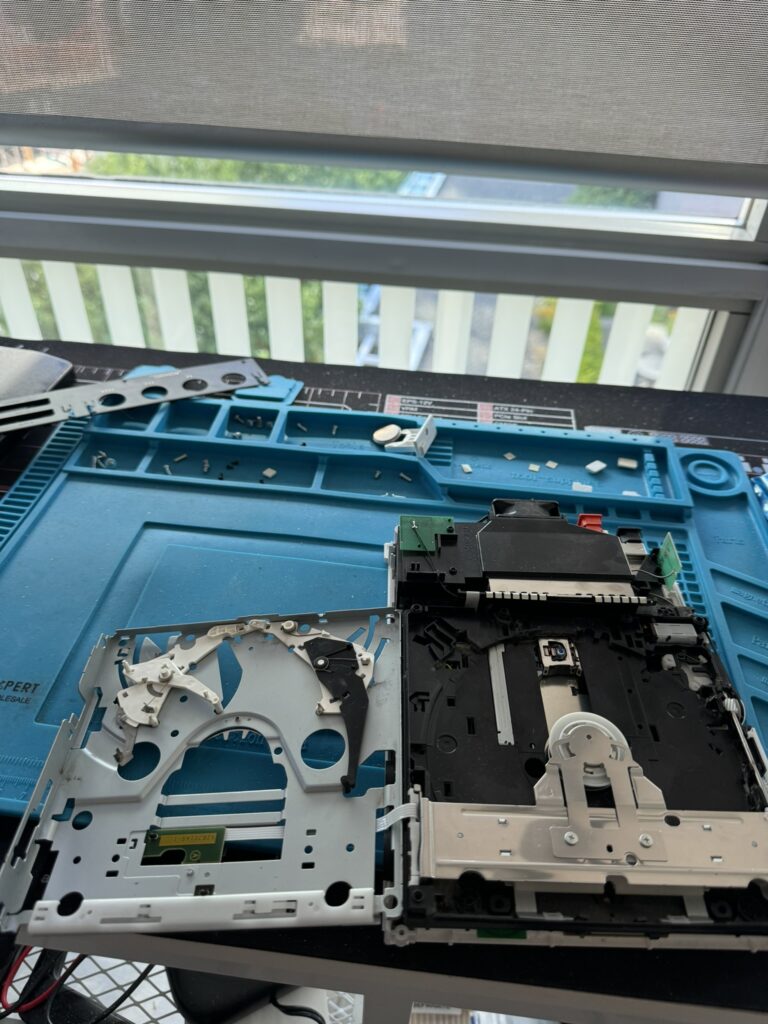
Everything seems OK at first glance, other than a lot of dust. After cleaning it out and using IPA on the disc sensors and laser, I tried inserting media but no dice – the drive itself didn’t recognise it was being fed. Bah.
One new drive delivery later…
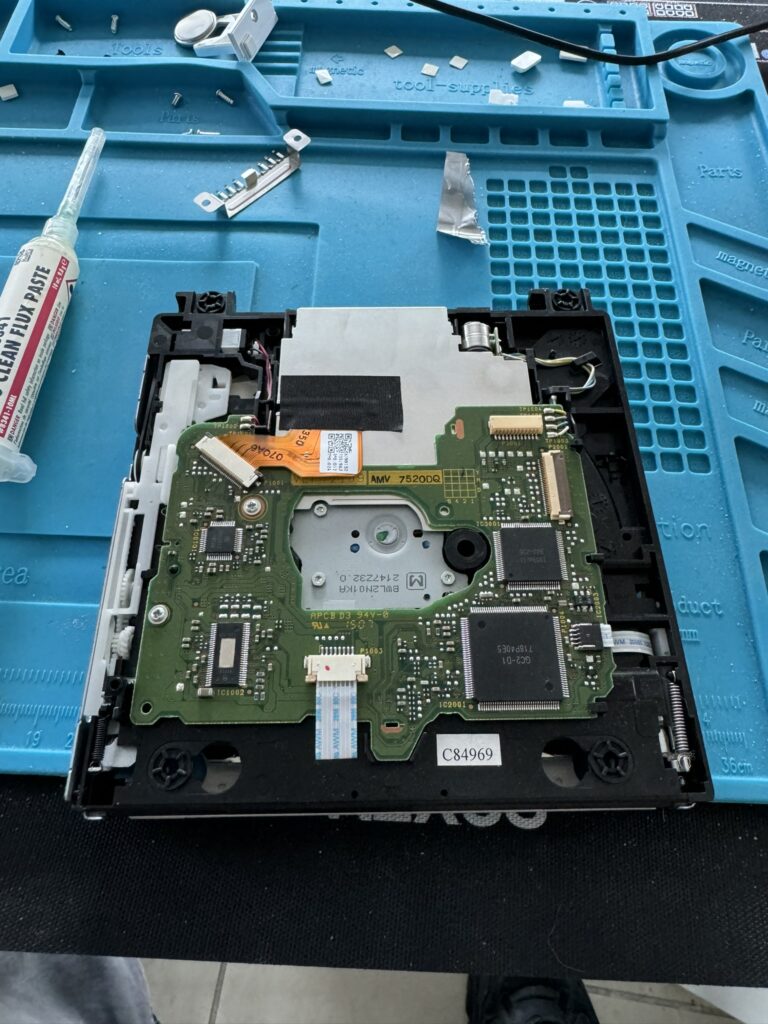
My stupid ass forgot to take shots of the D2D chip soldered to the drive. It sits in the middle there, where the PCB is cut away.
With that done (honest) – hooray! Time to add the HDMI board! We’re going to put it on some vias, and this is small work – use a microscope!
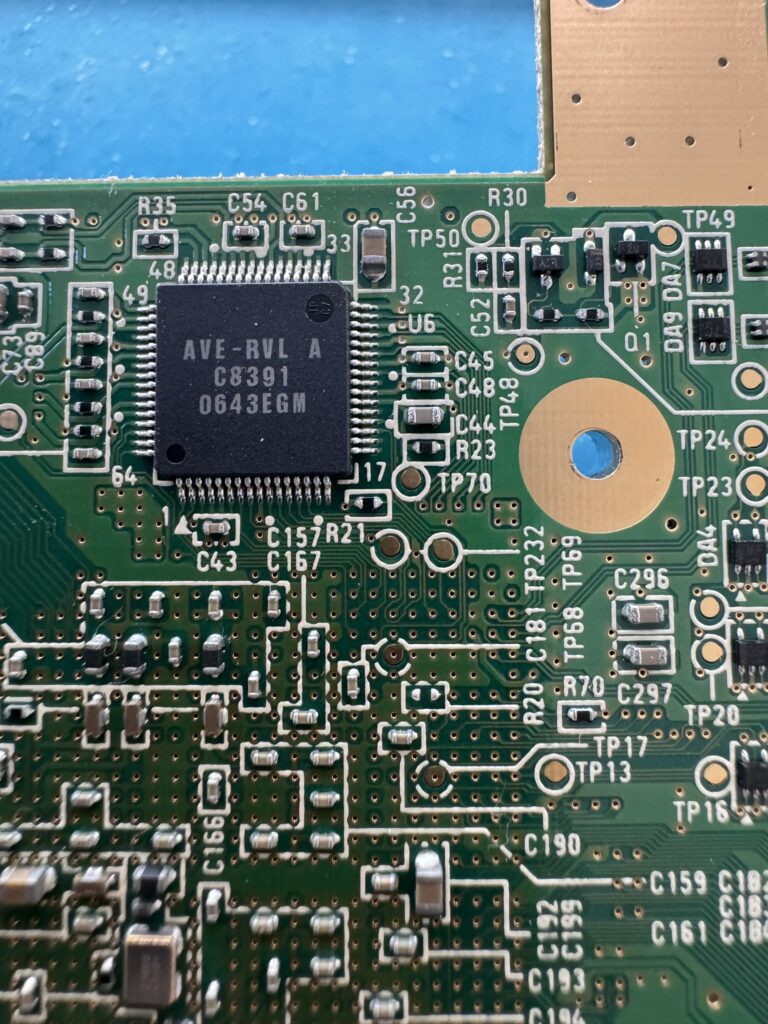
Thumb for scale:
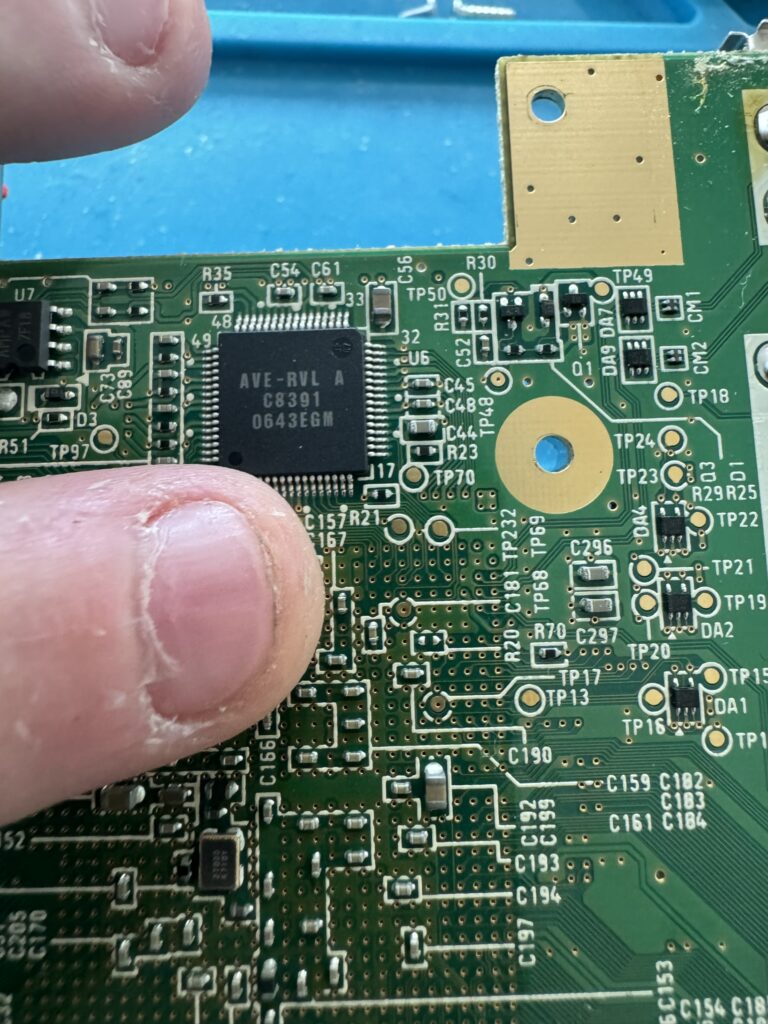
Some scratching, tinning and soldering later and we have solid connections to the board.
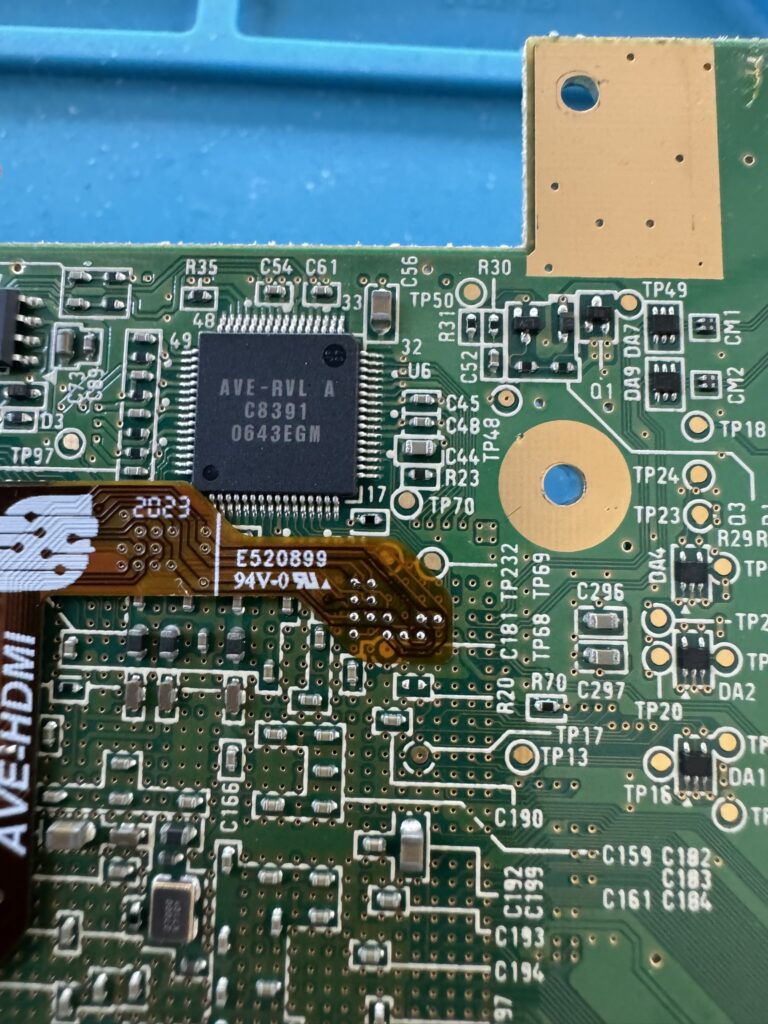
A few minutes later and the ground, power etc. lines are good to go.
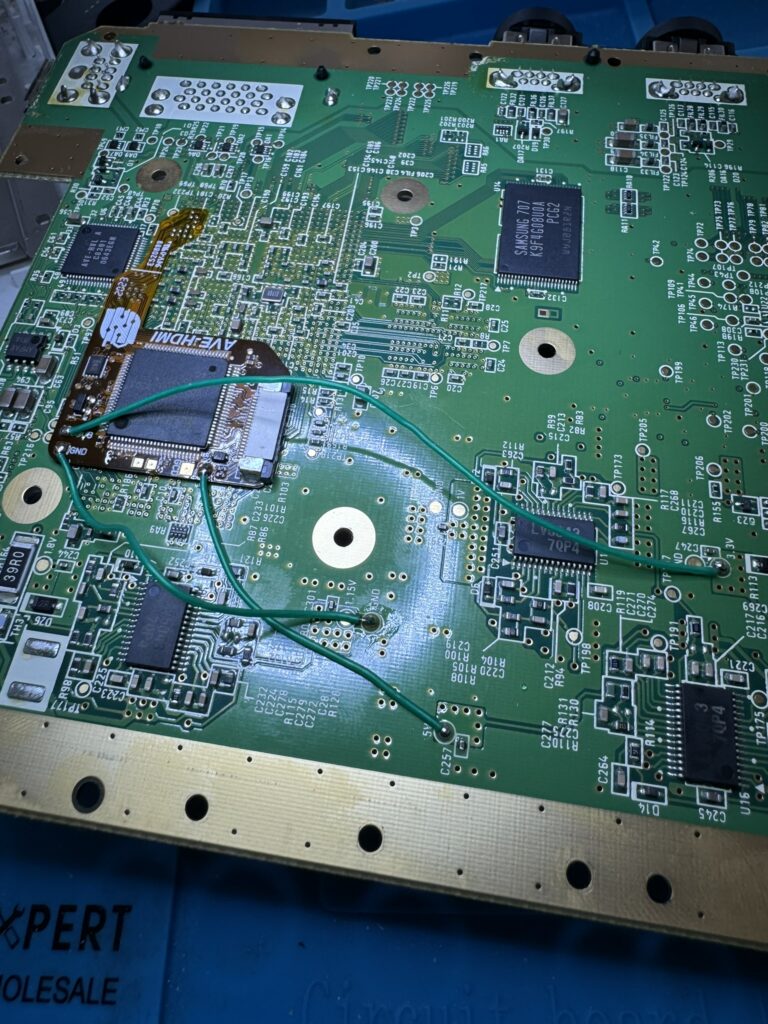
Let’s add the HDMI adapter, a microswitch, more soldering and the flex cable.
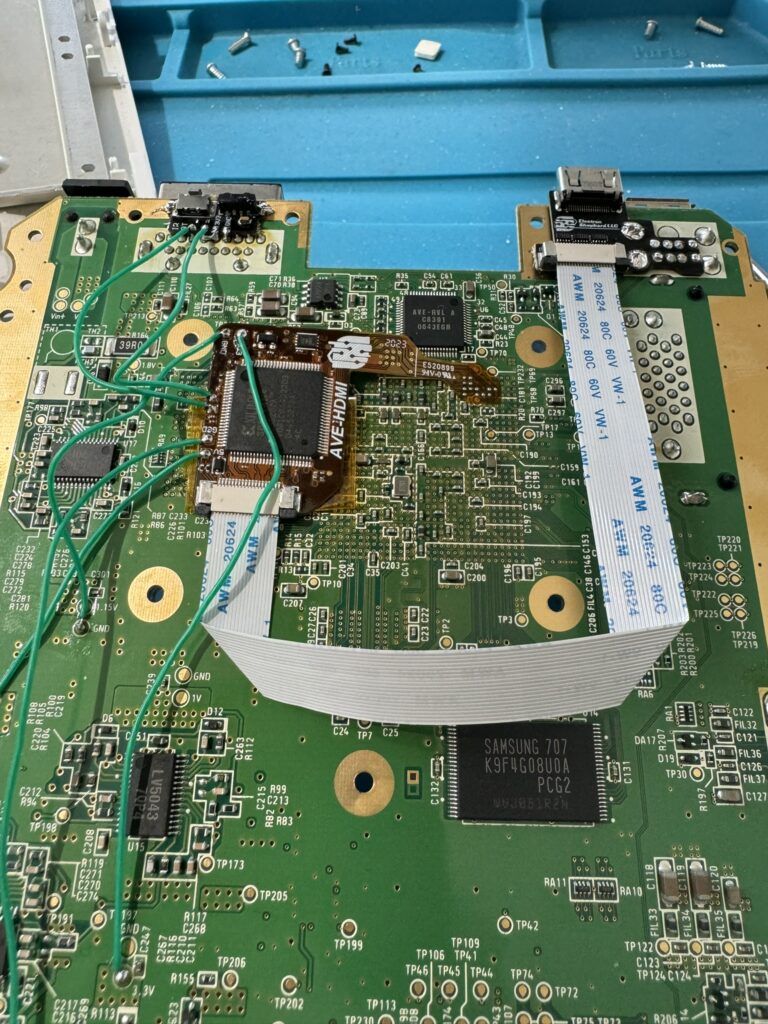
The internals are prepared. Now let’s get the new shell on!
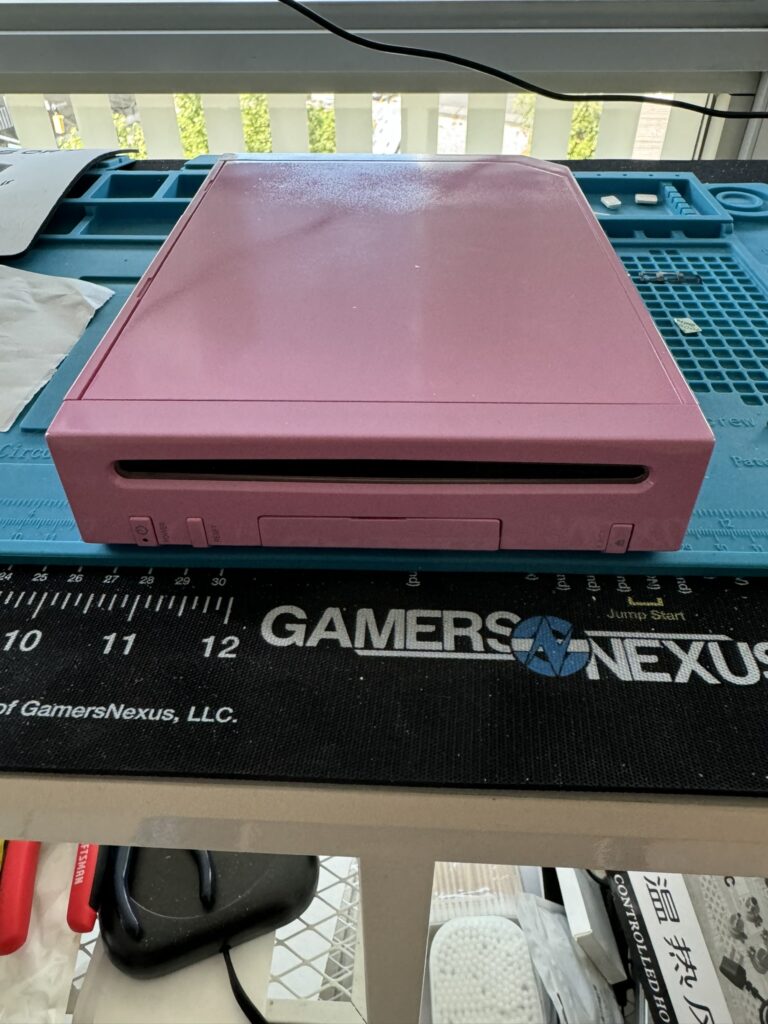
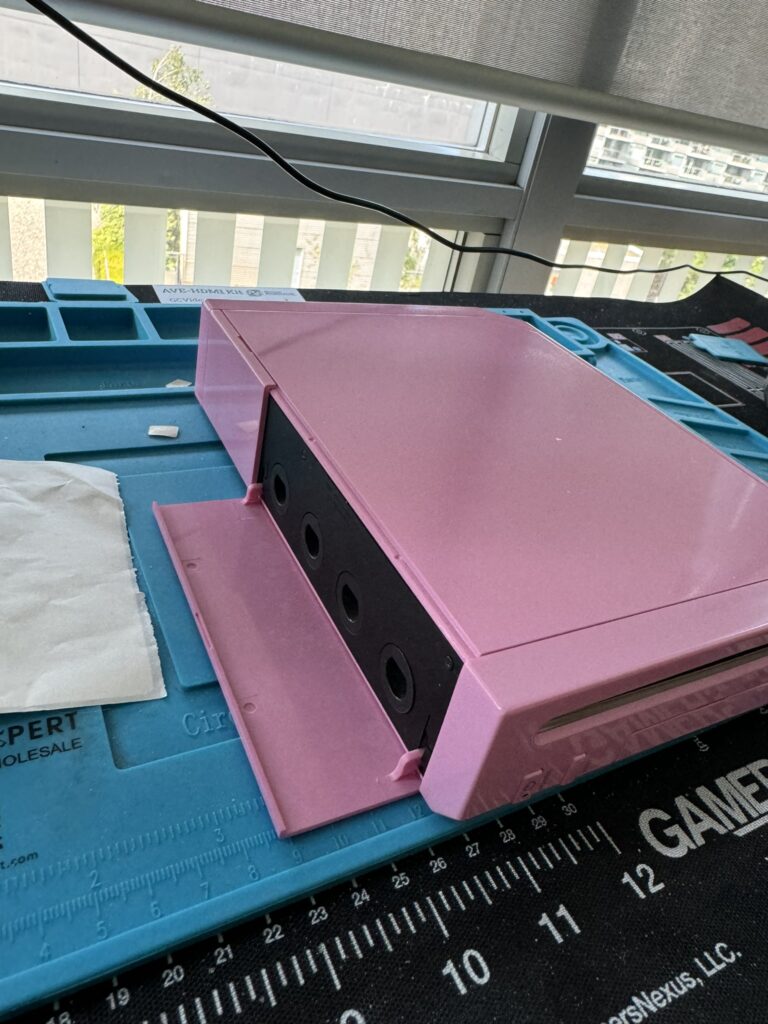
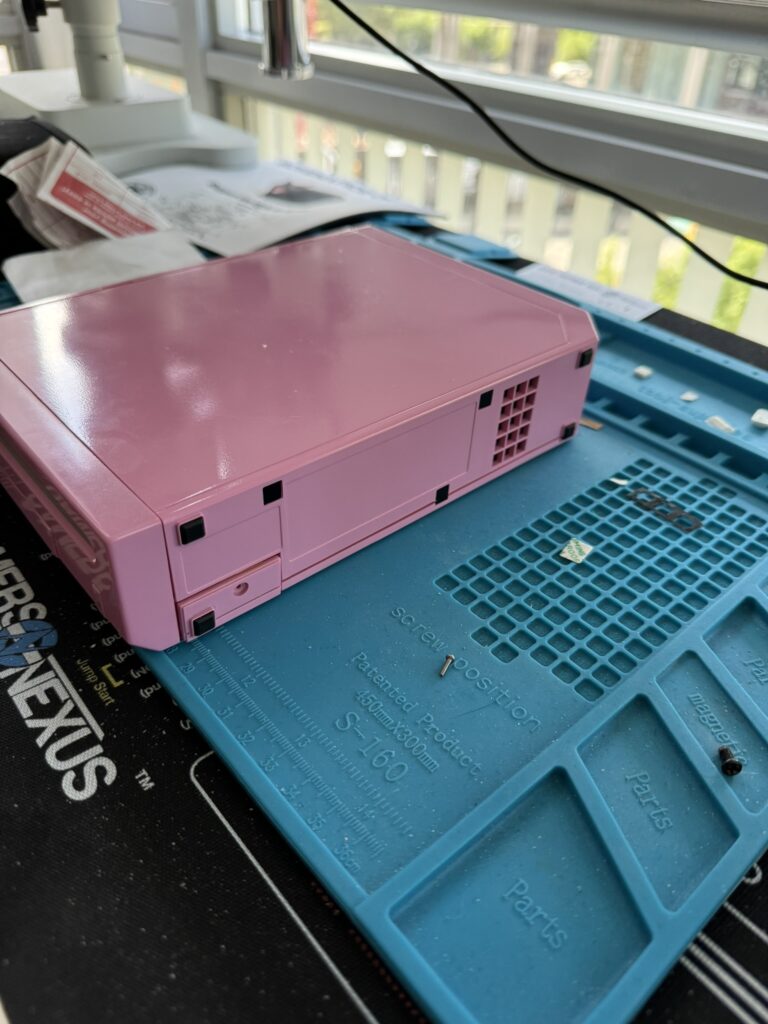
Yup. It’s pink. Now for the software mods. First things first, we need to get the homebrew channel installed. Once that’s done then we can start using fun tools like priiloader, d2x custom IOS installer and Wiiflow Lite.
Let’s start by installing some custom IOS for the Wii so we can run fun things!
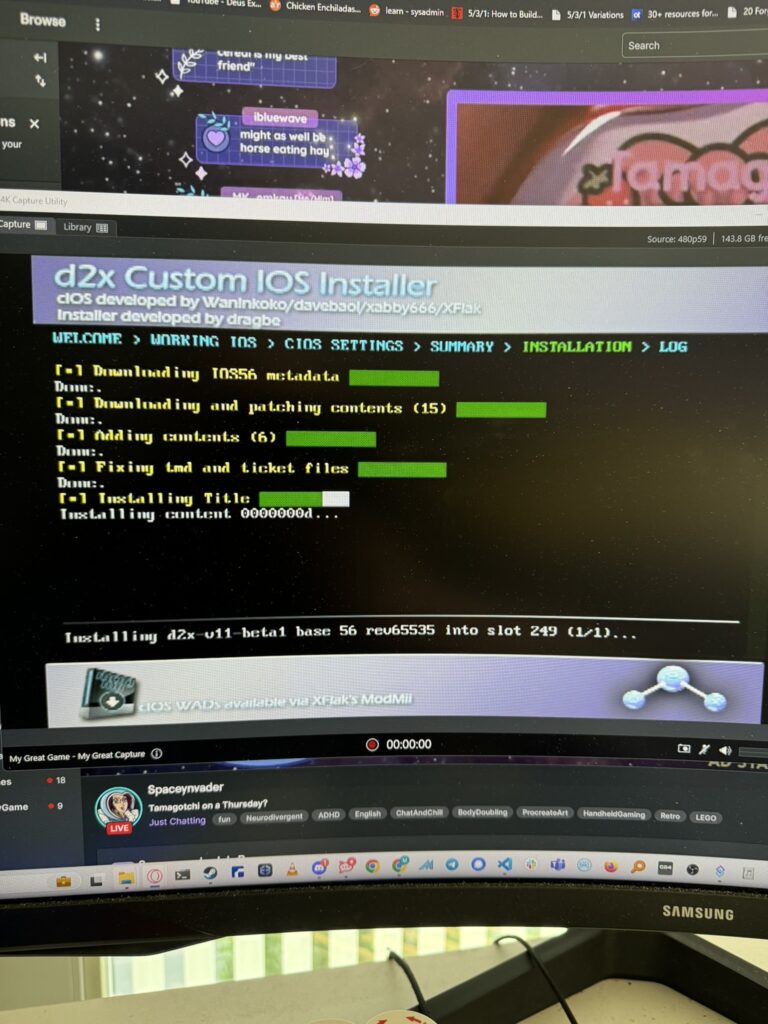
God, my screen is dusty… shout out to Spacey and the crew! Once the cIOS stuff is in place, we can install Priiloader. This is a bit backwards I think as Priiloader should normally be done first? It works anyways, which is what counts.
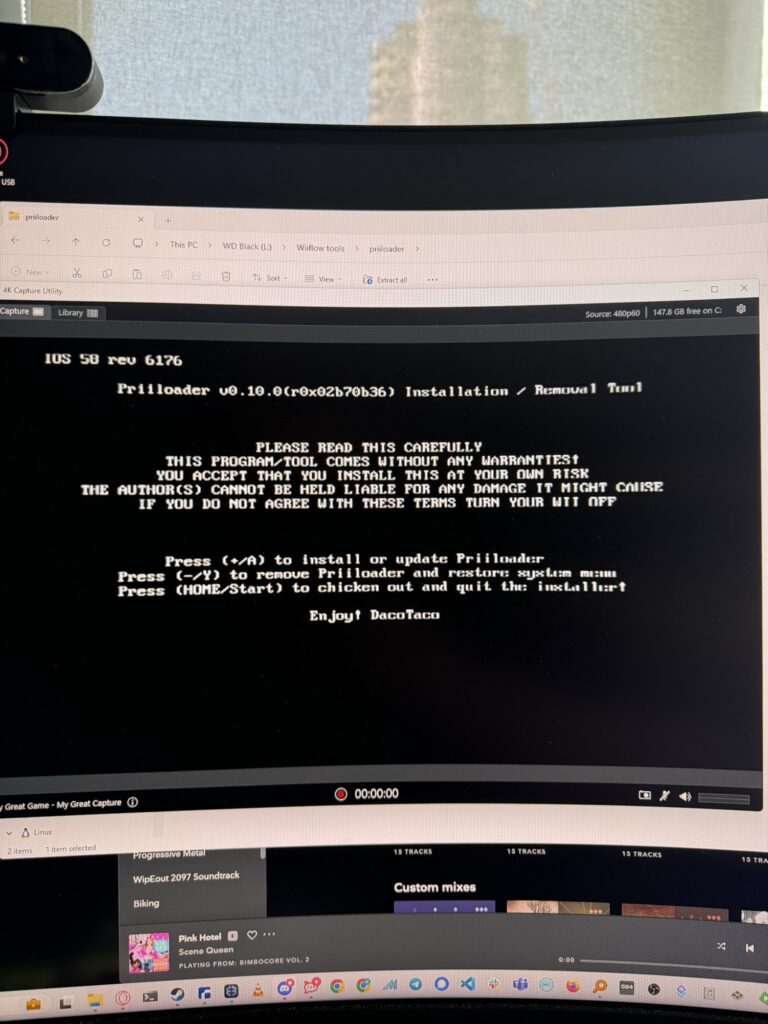
The devs do give a nice warning. Bless them!
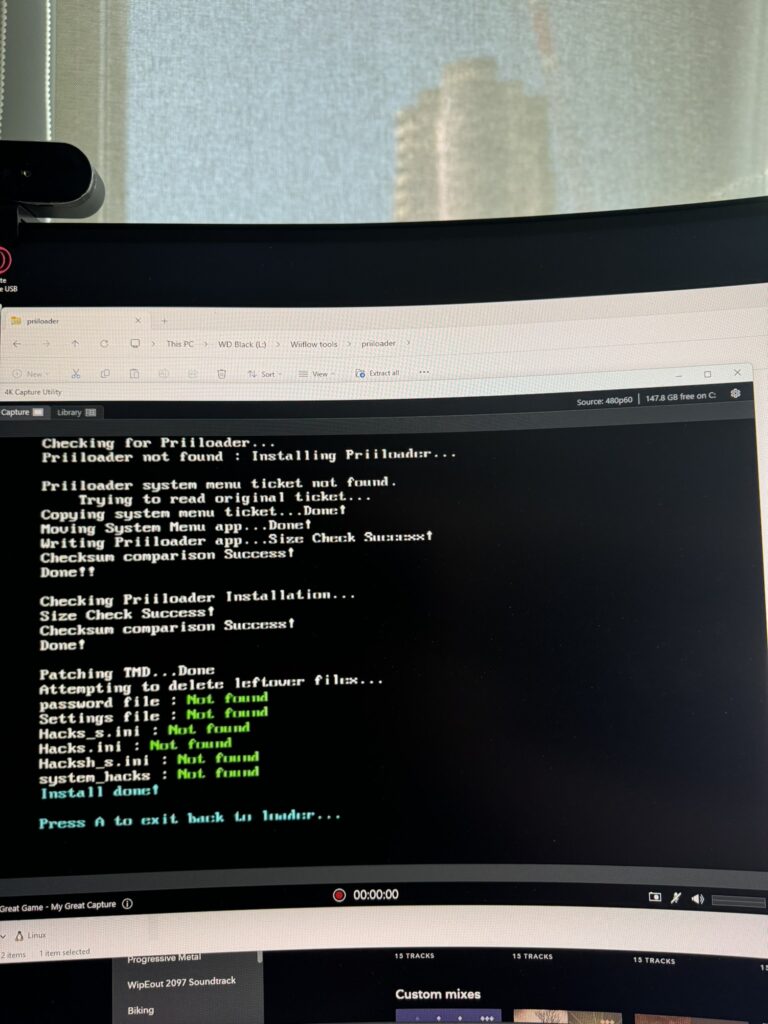
Hooray! The Wii is now exponentially harder to brick with software!
Now that the system’s prepped, we need to install Wiiflow which will let us play games from an SD card. Some copying of files and headscratching later, we’re set:
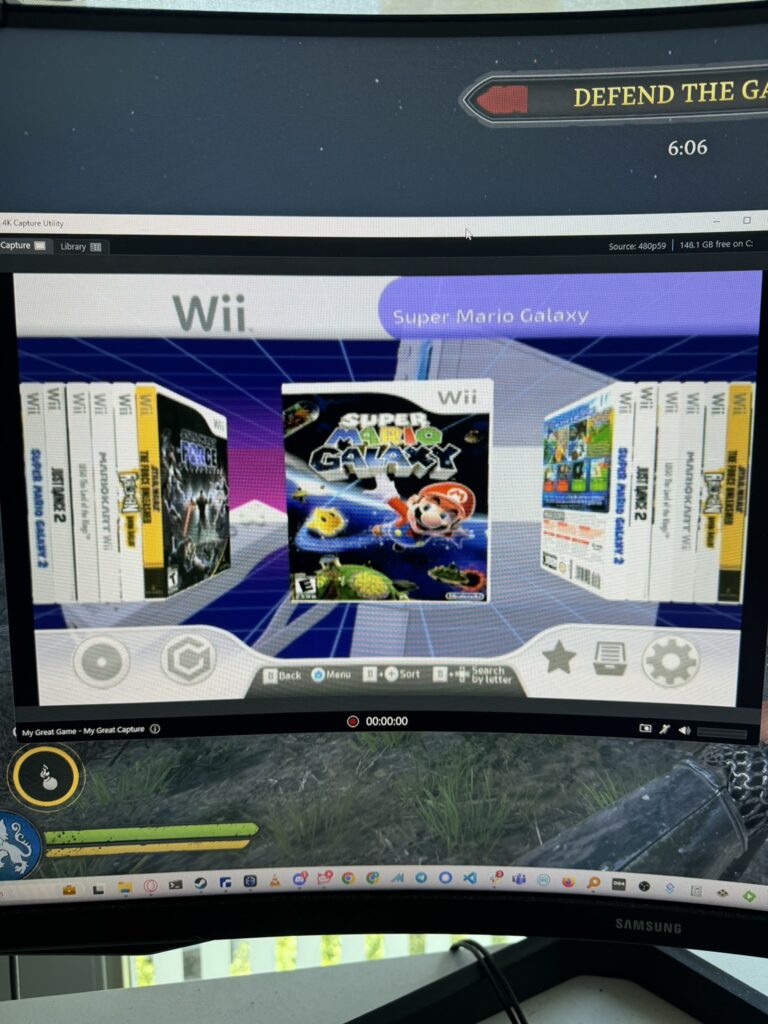
One thousand no-points to you if you know what game’s in the background there. 😉
The last thing we need to do is check the modchip and the new drive.
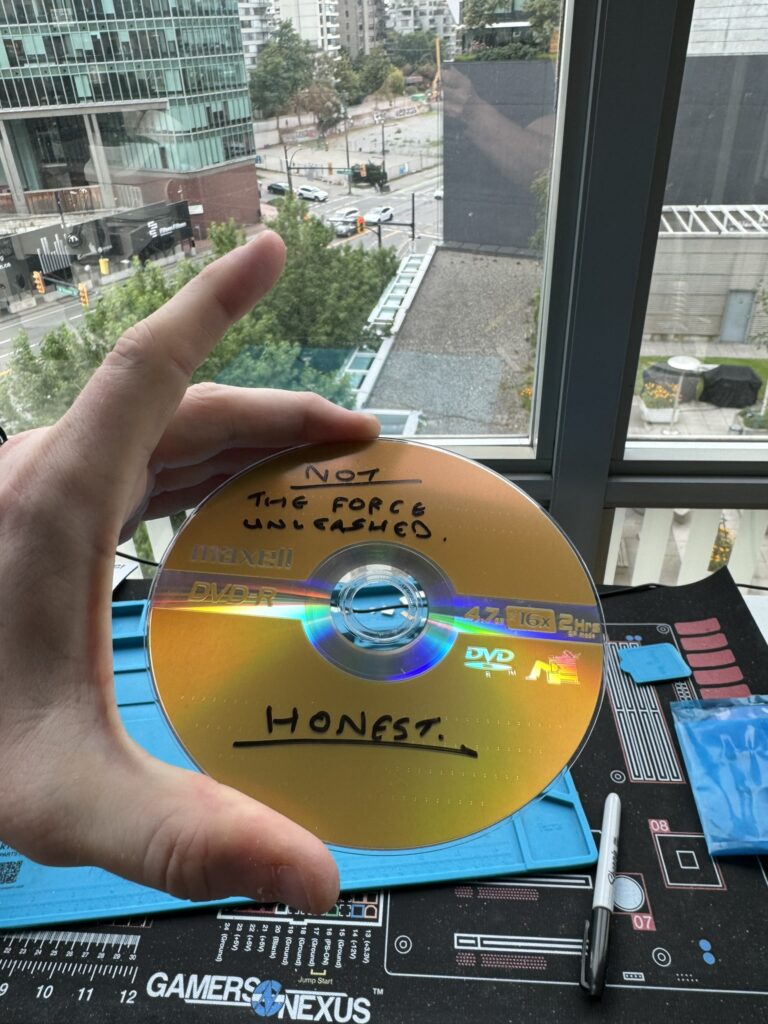
As you can see, this is CLEARLY NOT A COPY OF THE FORCE UNLEASHED. Honest. Let’s see what happens when we put it in the Wii.
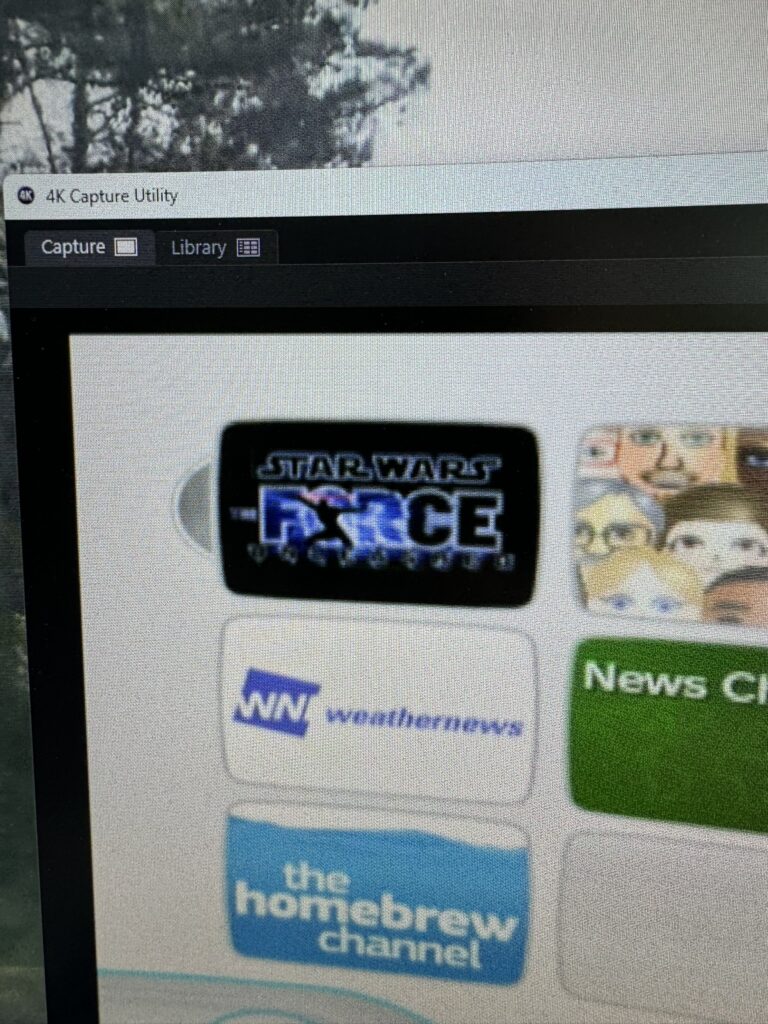
Well I have NO IDEA HOW THIS COULD HAVE HAPPENED. May as well see what happens if we load it though, eh?
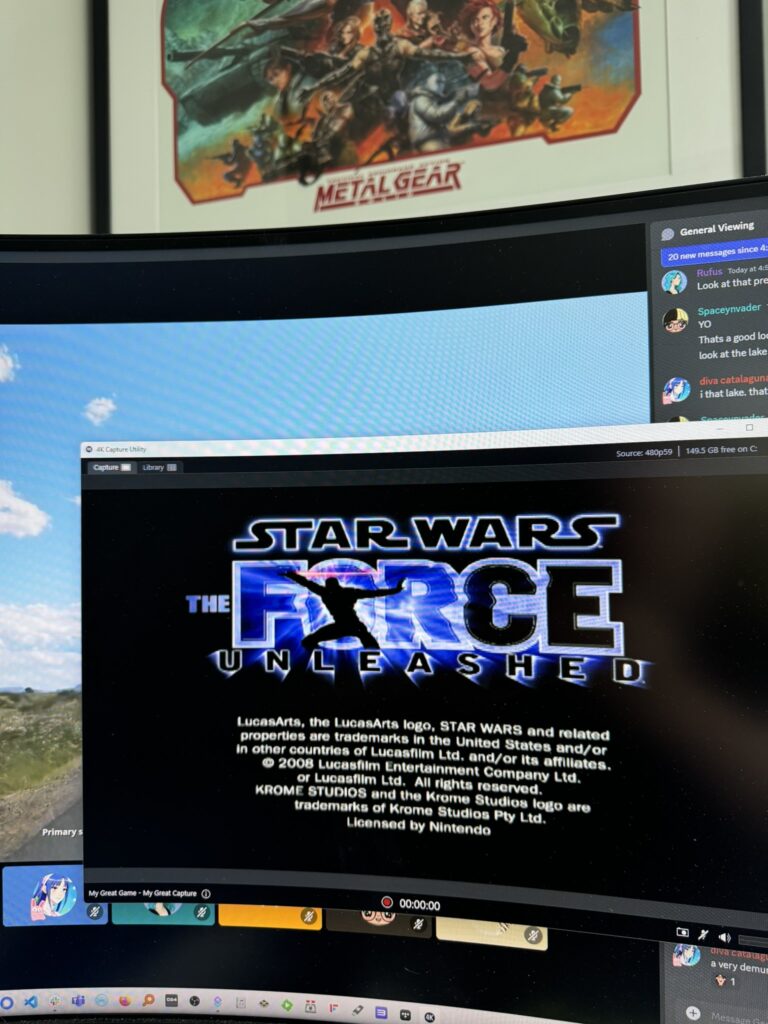
Well how about that, this is clearly some kind of LARGE COINCIDENCE! The drive and chip are working though, so we can go ahead and call this done!
Leave a Reply