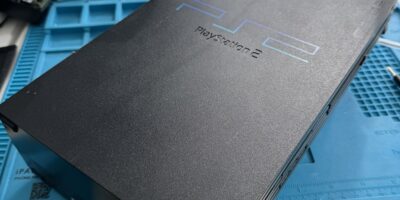
We managed to score a somewhat aged PlayStation to be modded. And when I say aged, it sure is yellow:
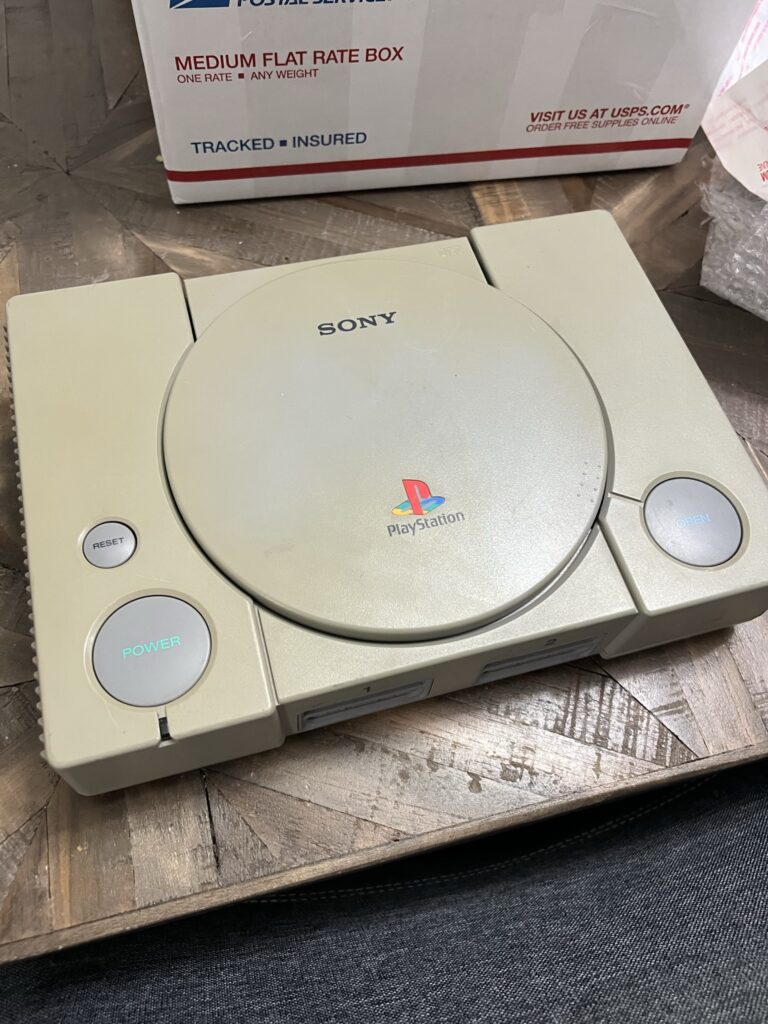
I haven’t done anything to this yet as I’m not sure if I want to get the gear for retrobrite or similar. Let’s get it on the bench.
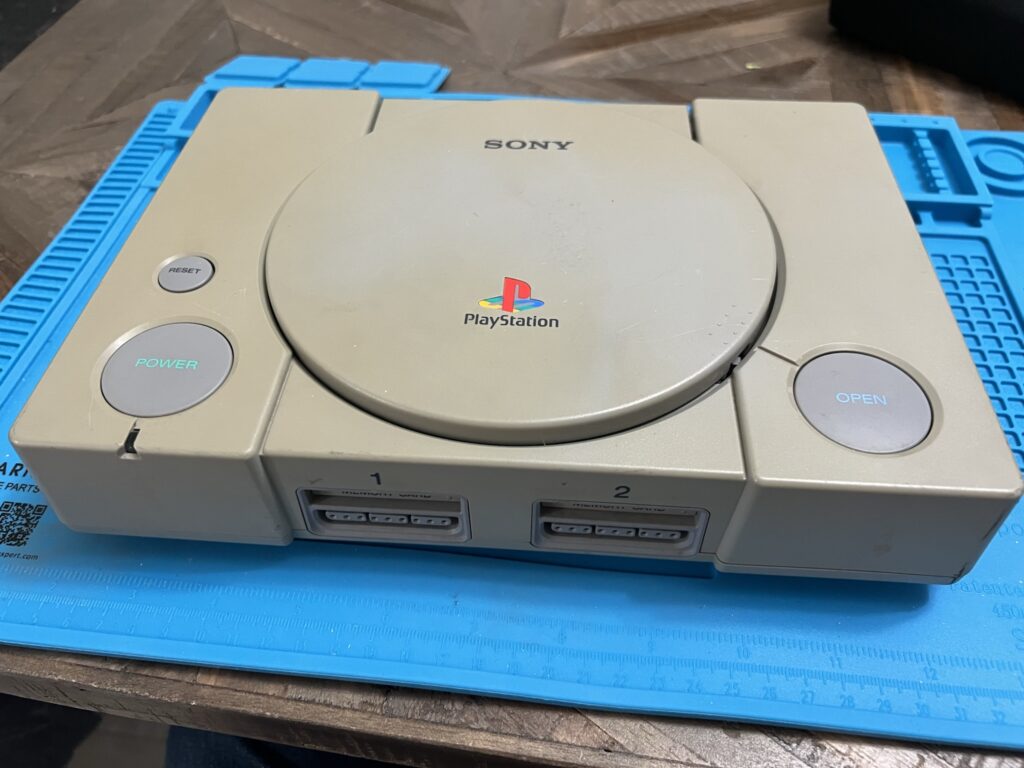
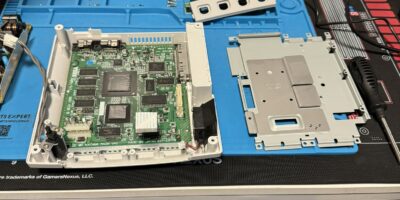
Let’s see what’s inside!
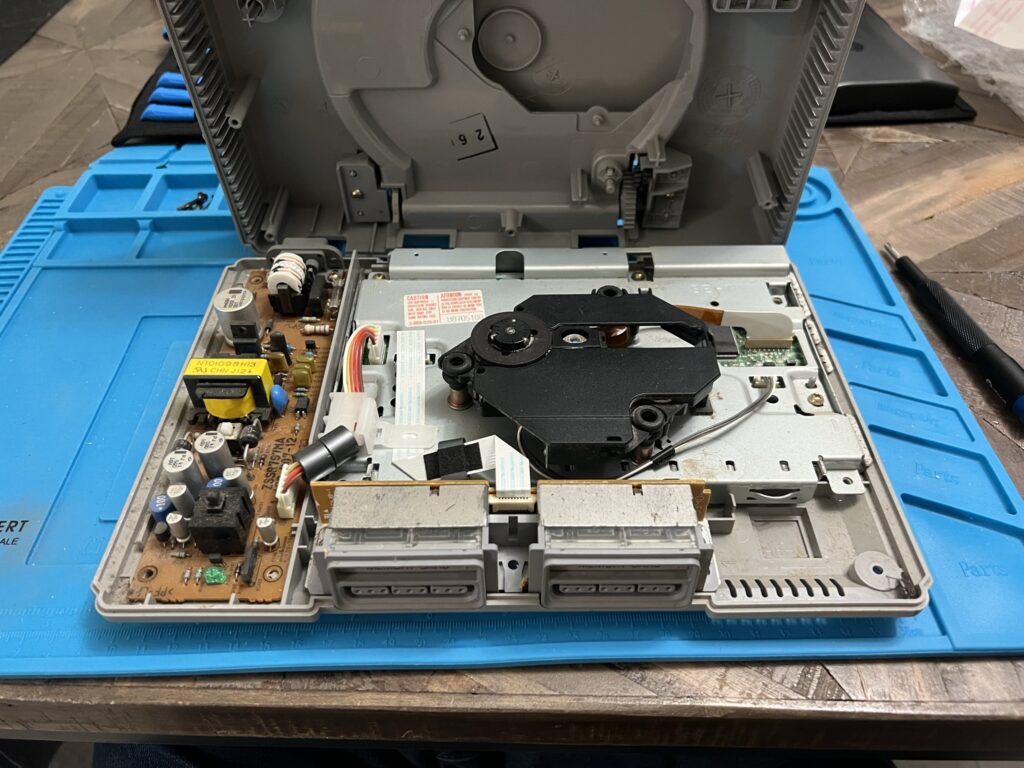
A touch dirty, but no mechanical or electronic damage that we can see at first glance – a nice start. Let’s tear it down some more.
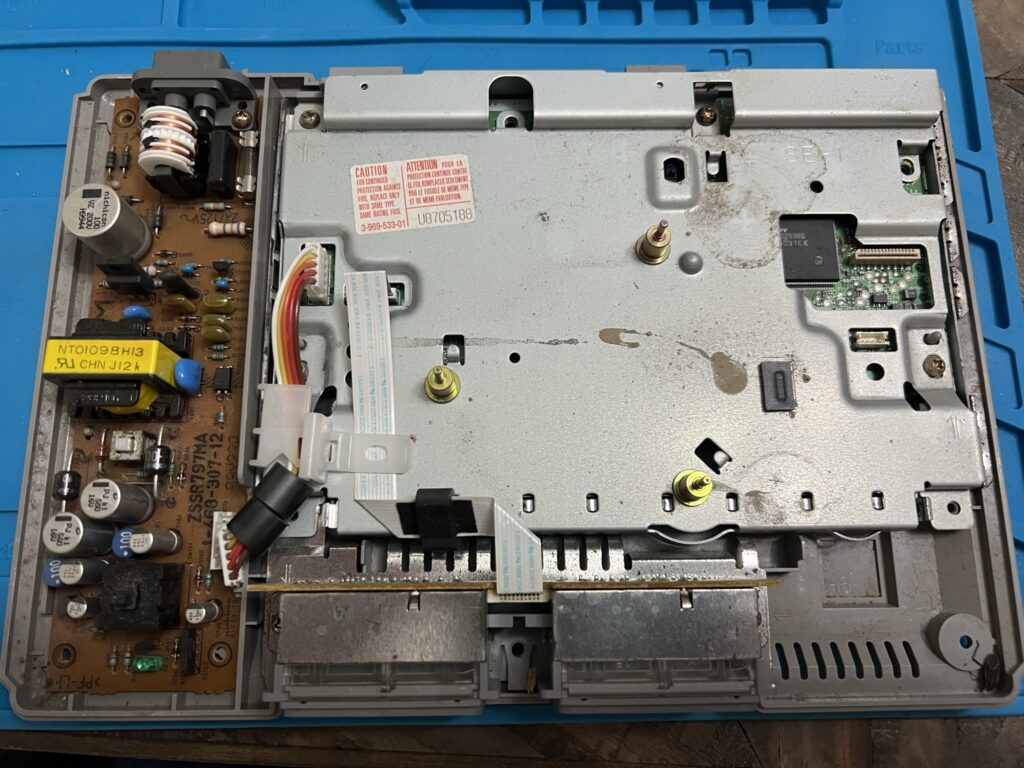
Ew. Thankfully the only bug we found in this one.
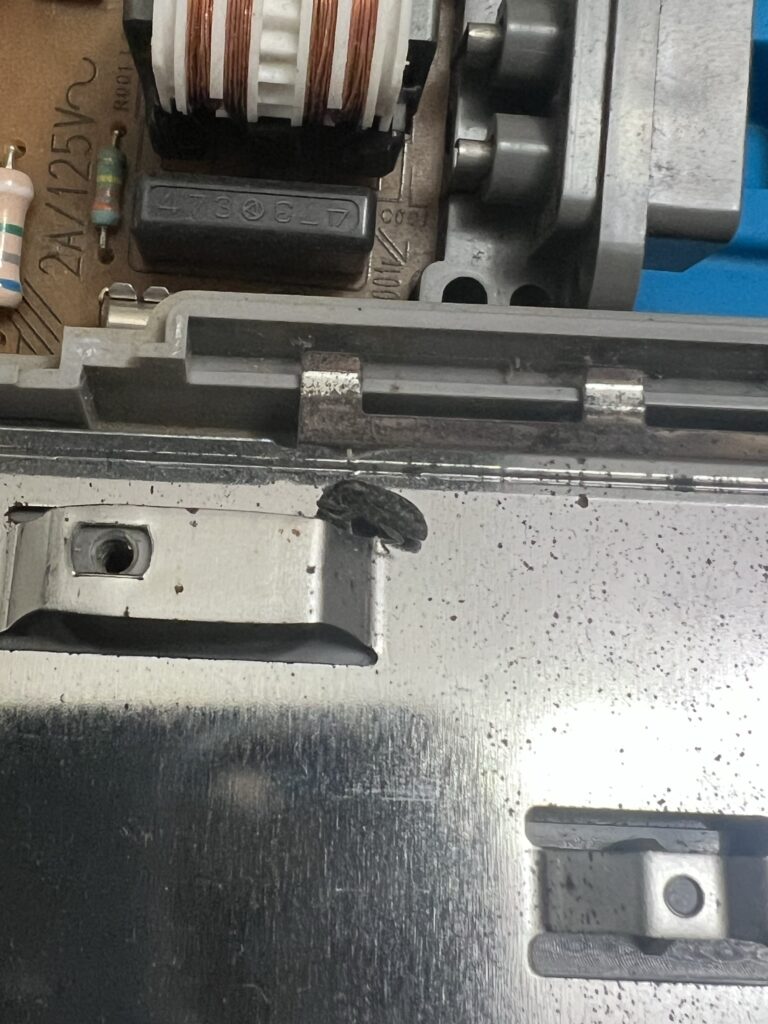
With our bug pal disposed of, let’s open it up some more!
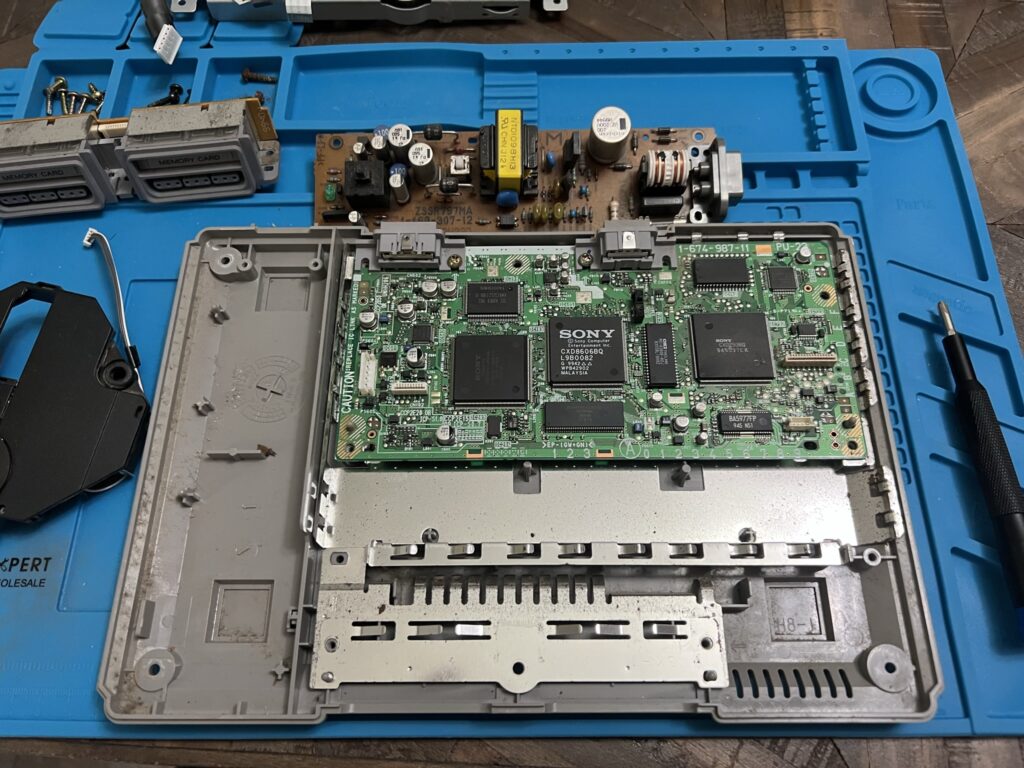
The power supply works fine, with no obvious capacitor bulges or failures. The main board looks good too. Let’s get rid of the case and shielding so we can do the fun stuff!
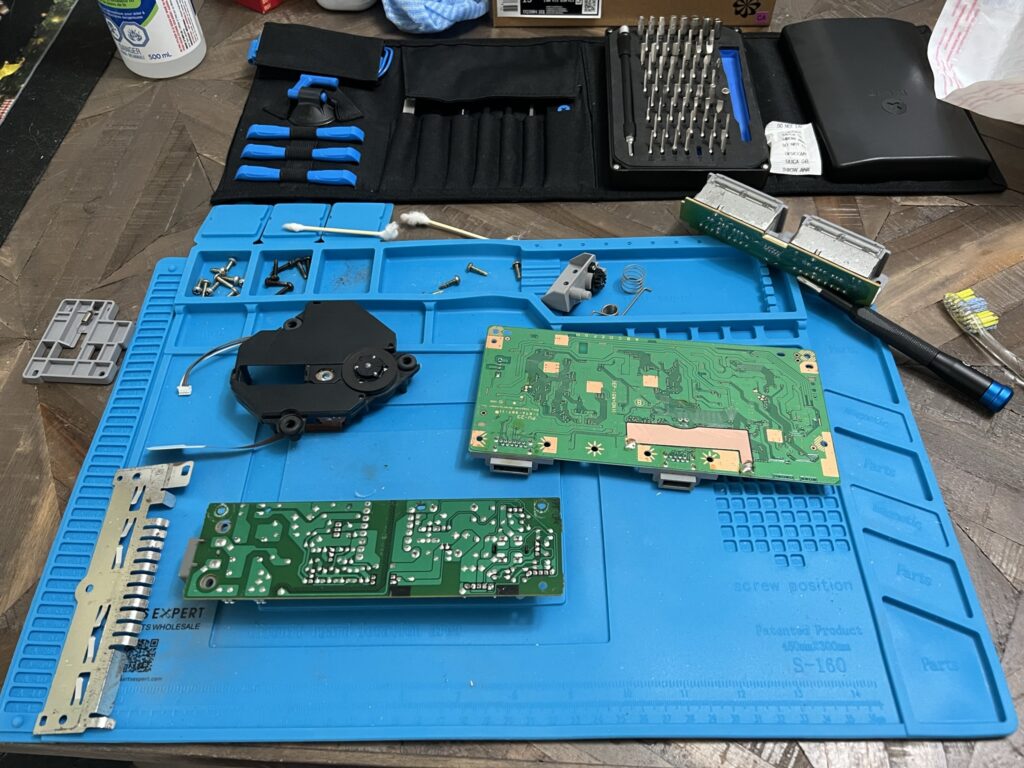
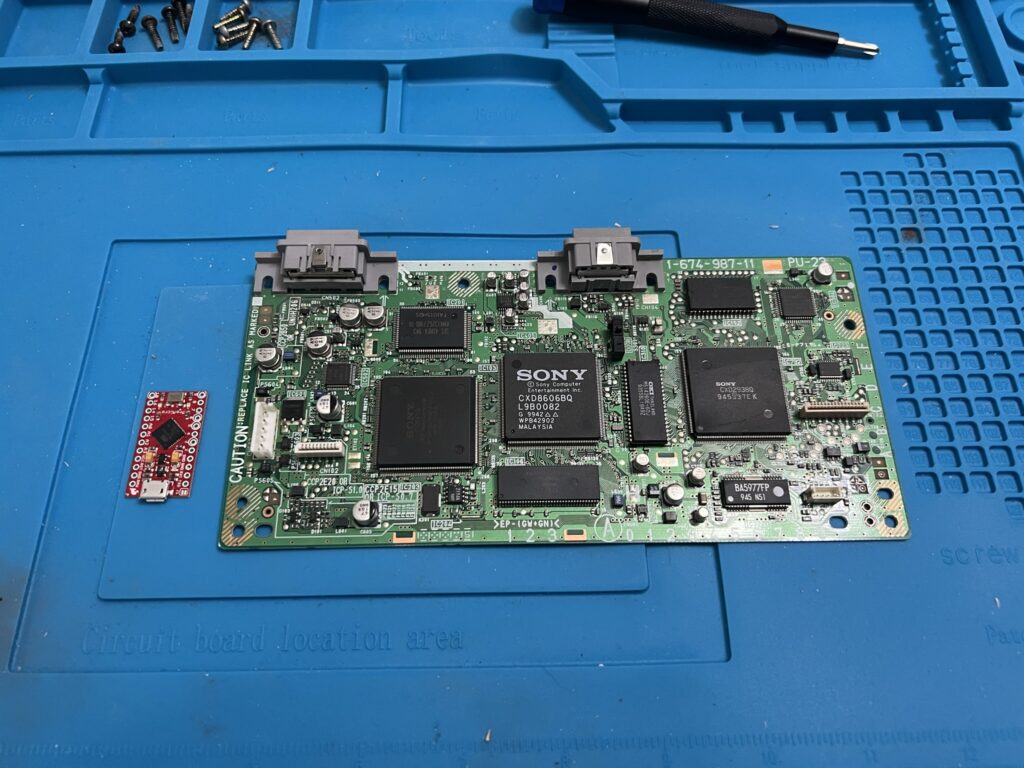
What’s this? Why, it’s a SparkFun Pro Micro (3.3V / 8MHz) chip! We’re going to be making use of PsNee to mod the unit. With the chip programmed it’s time to do some fiddly soldering.
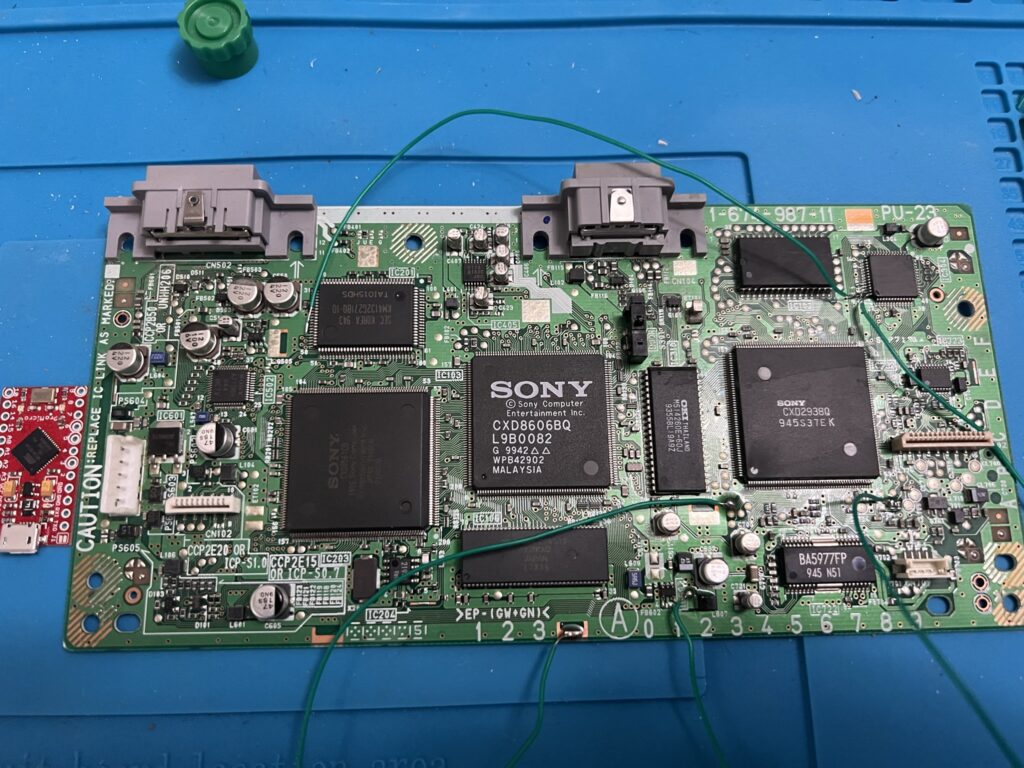
It’s a bit spidery, admittedly, and I could clean it up but to be honest my priority here is getting the chip installed and working. A bit of loose wiring inside the case won’t bother anyone.
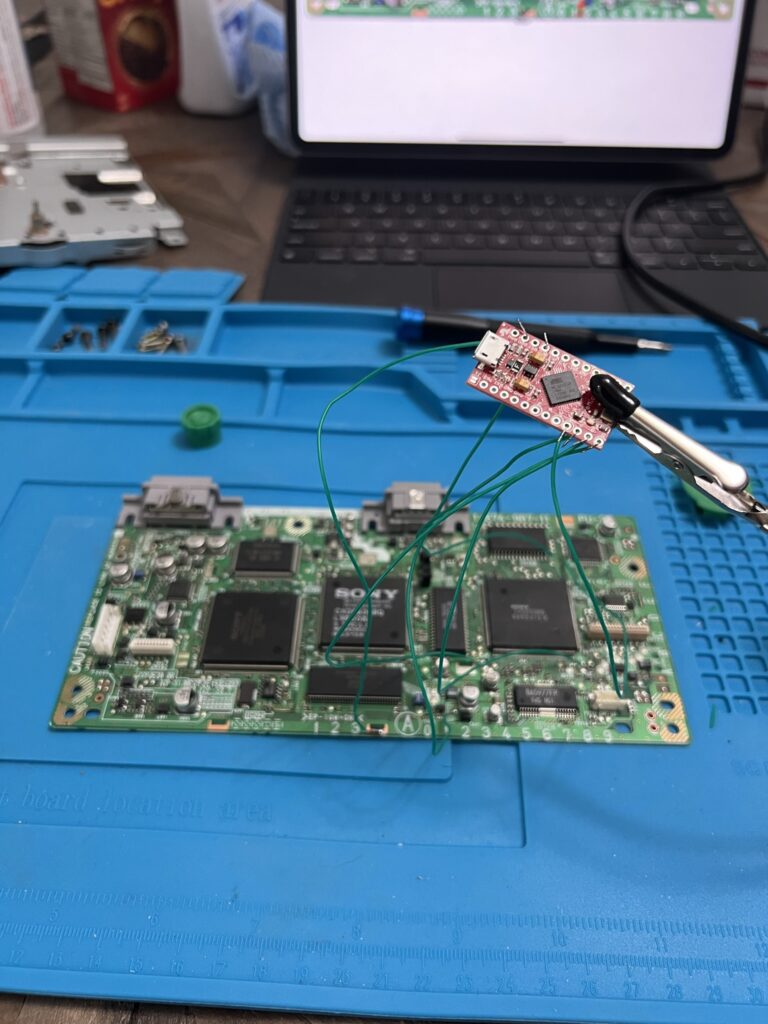
This guy’s pretty small as you can see! Wait ’til what happens later though…
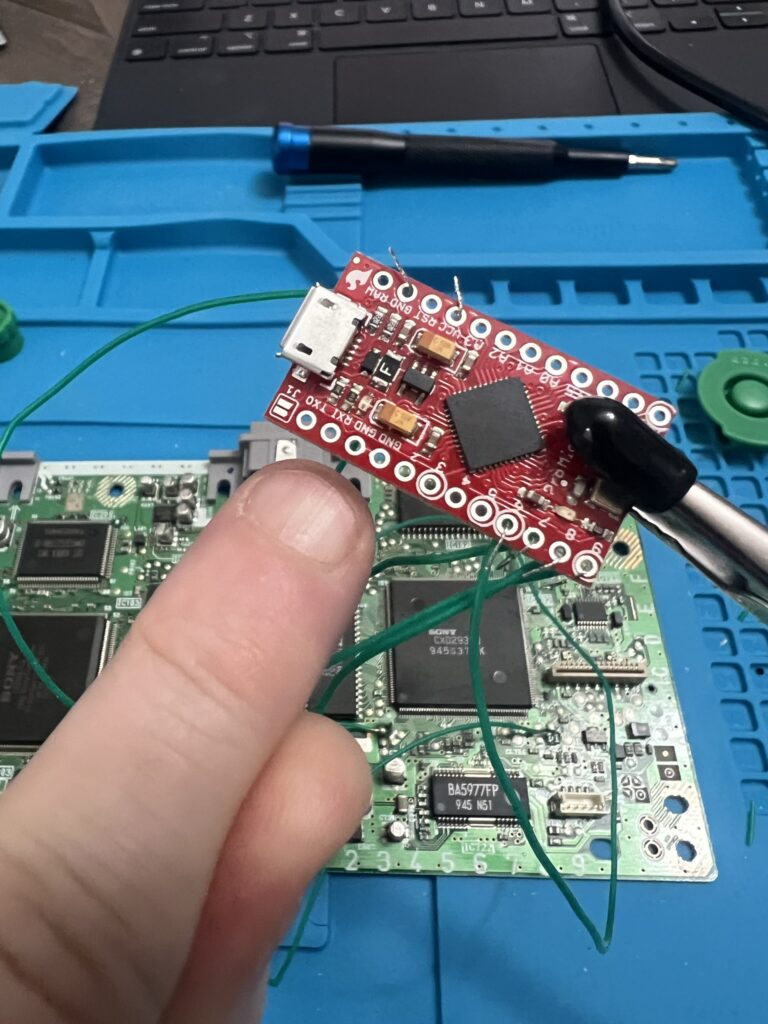
I’m absurdly pleased I was able to do this soldering without a microscope. Hooray for Intralase!
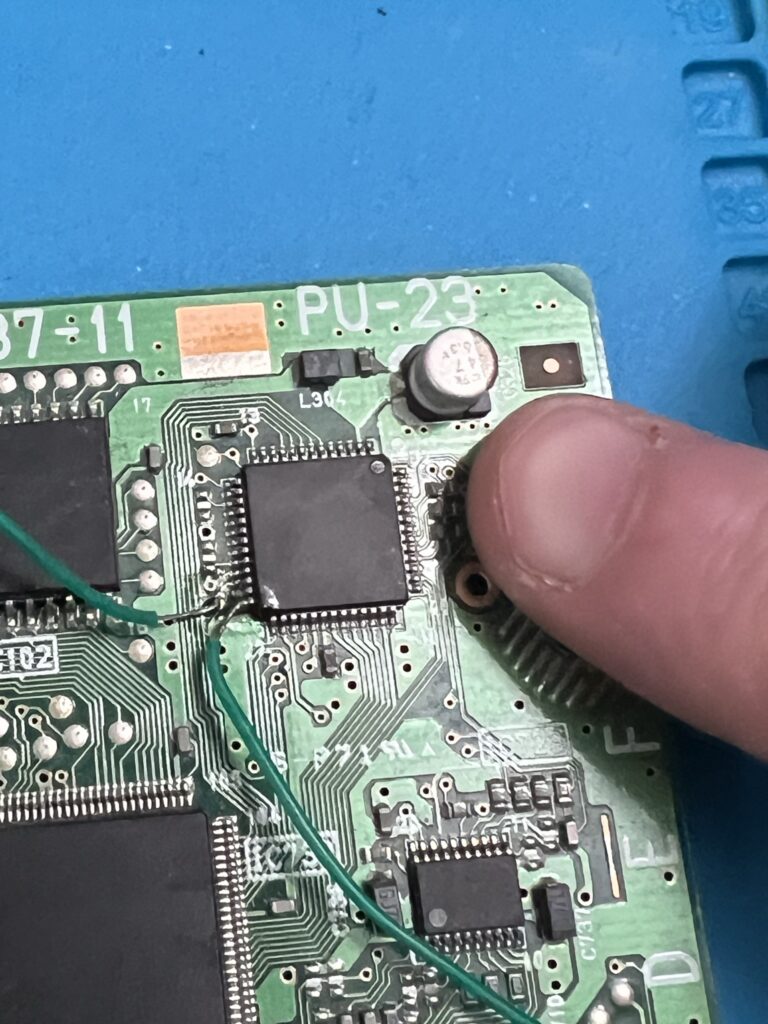
With THAT out of the way, let’s go to stage 2: the ODE (Optical Drive Emulator) courtesy of CastleMania. Big props to them!
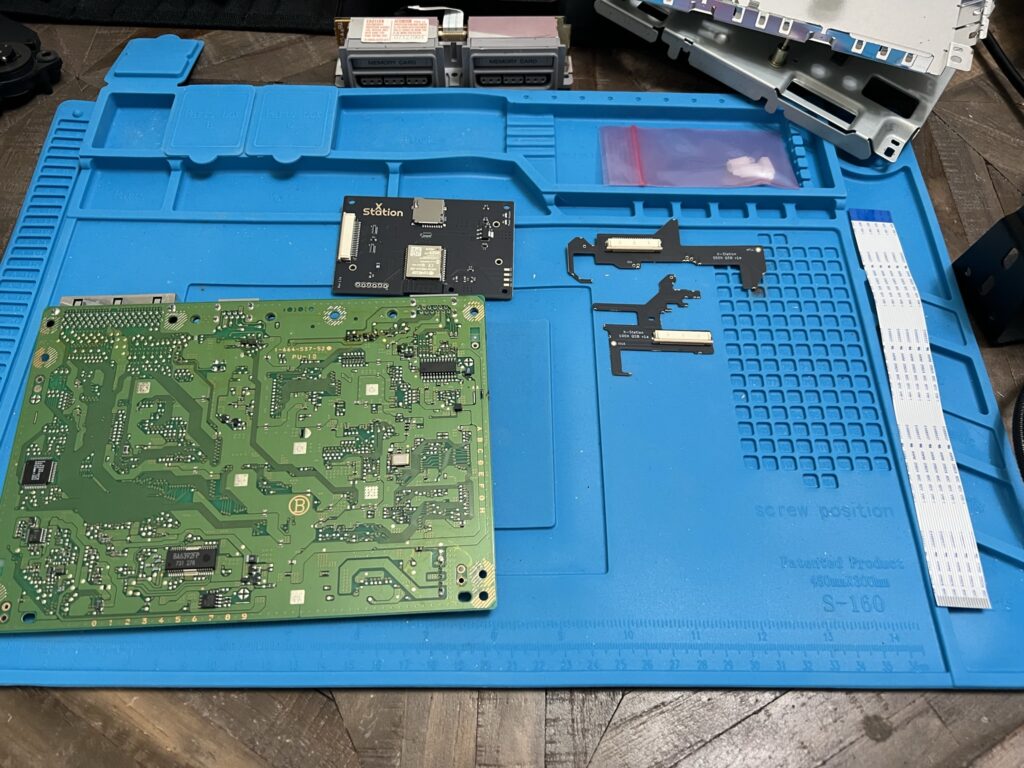
Let’s get the boards in place. Huge credit to the designers for making quick solder boards which pretty much drop in place and, with a few spot solders, you’re done!
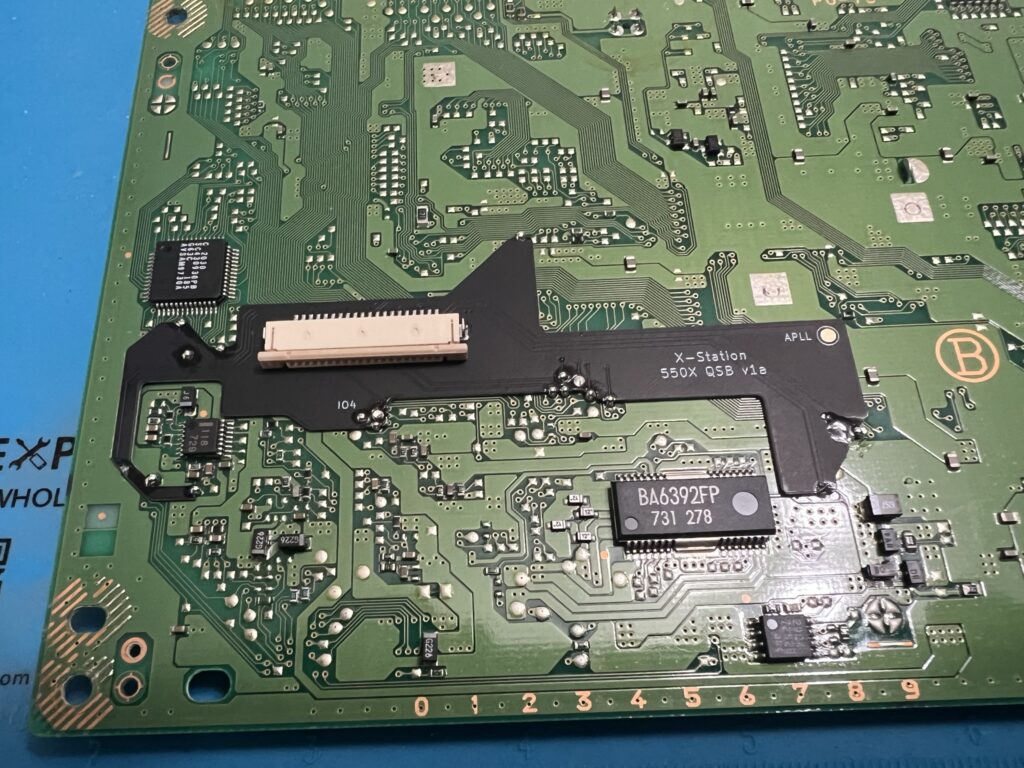
Time to flip it over for the hard part…
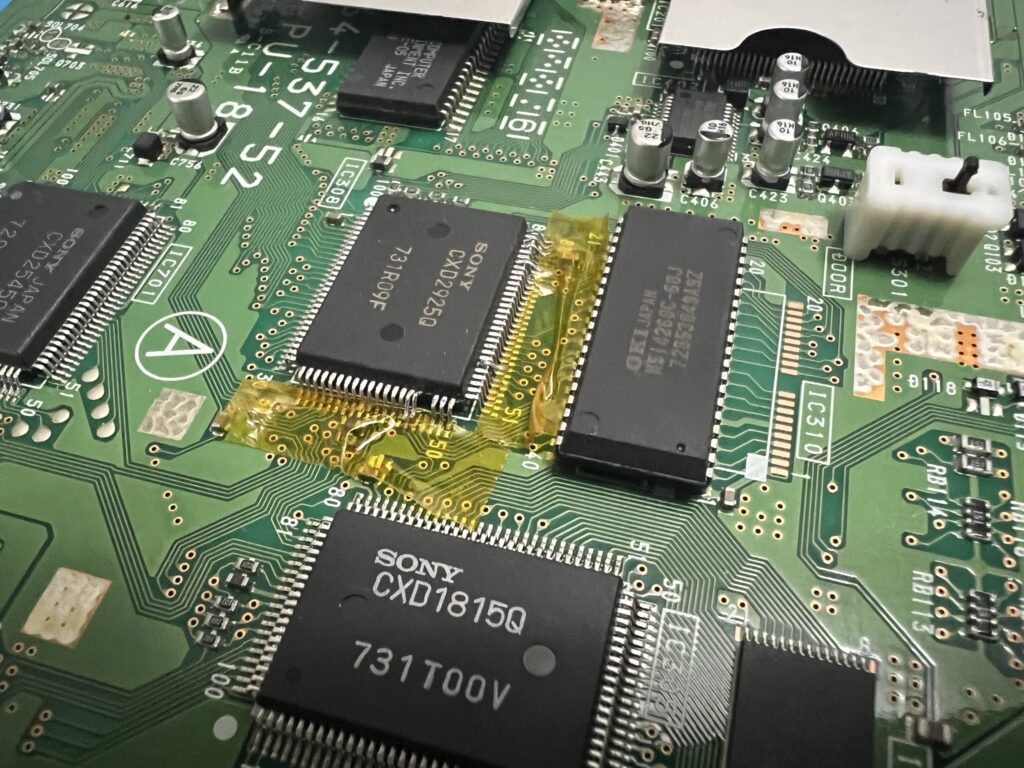
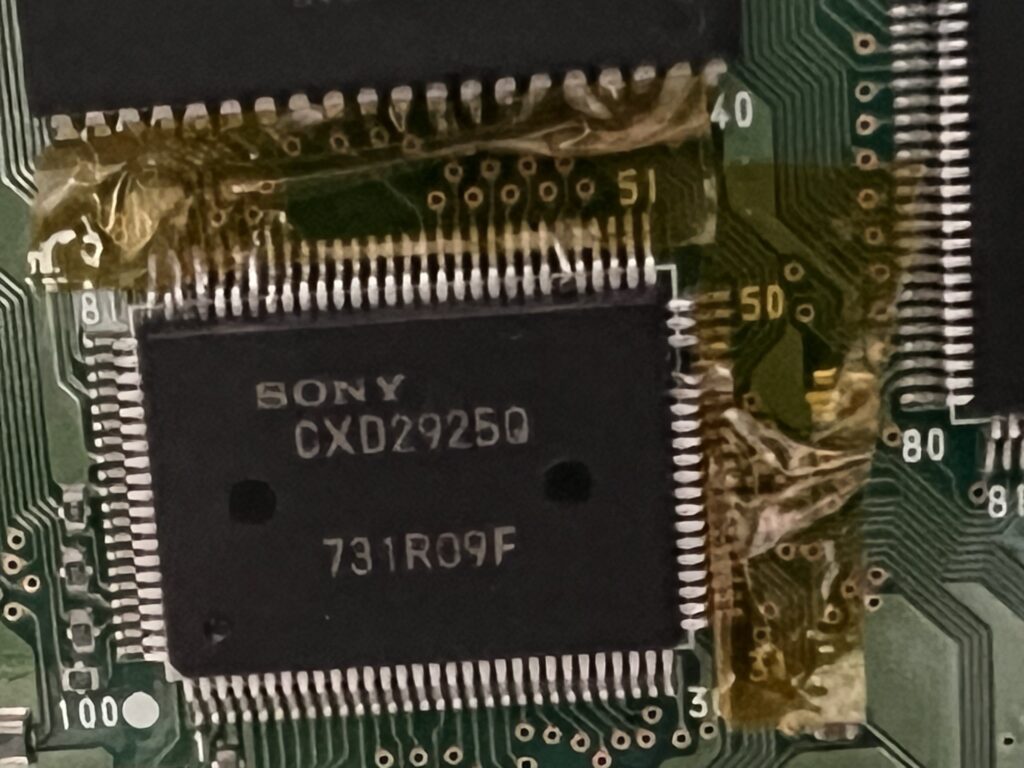
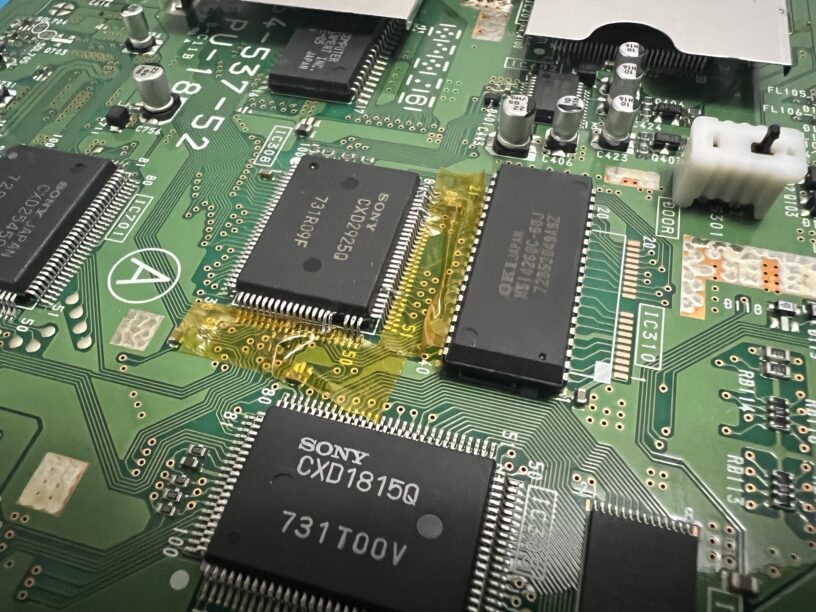
Specific pins need to be lifted from the CD controller chip to allow the ODE to do its thing. This took a steady hand, a LOT of patience, and a dental pick. Once done, one last resistor needed removing from the board. This was easy to do with a fine tip on the soldering iron but check the dental pick for scale:
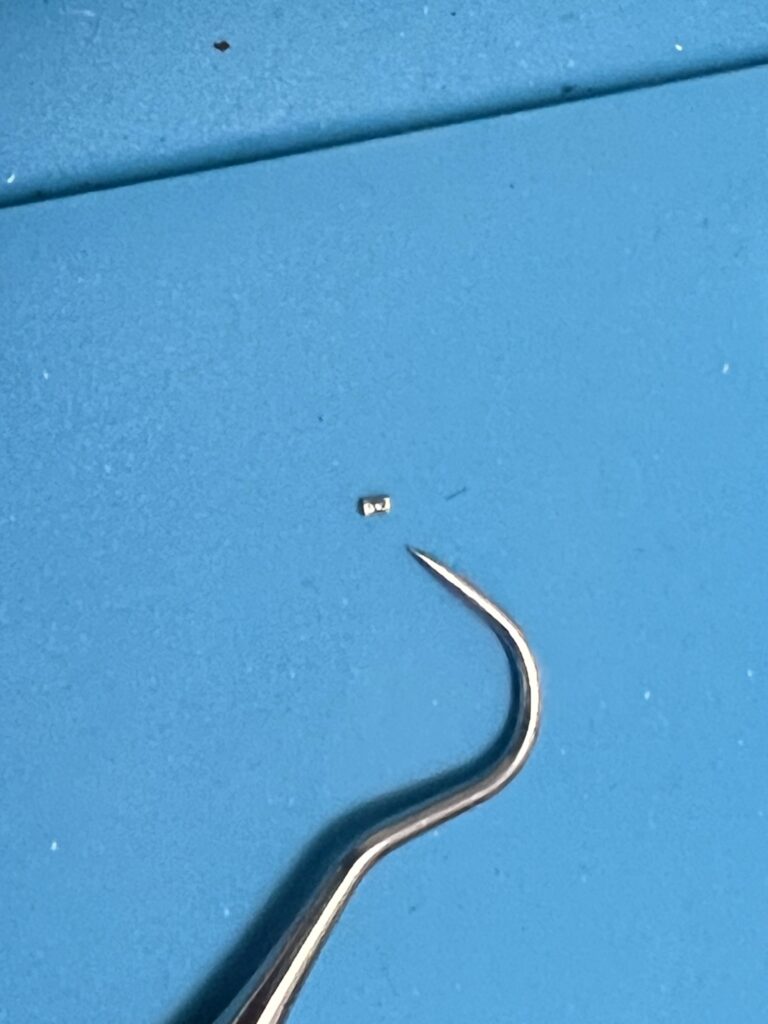
Pretty crazy, huh? With all that done and everything reassembled let’s give it a shot and see what happens…
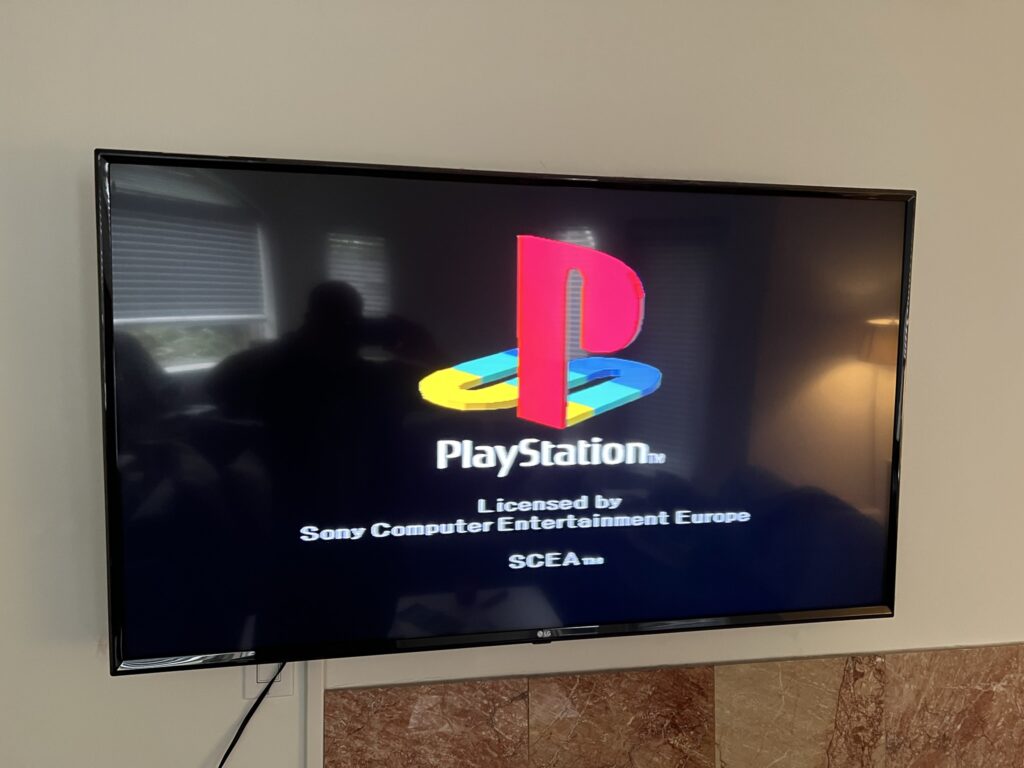
Success!!
Leave a Reply